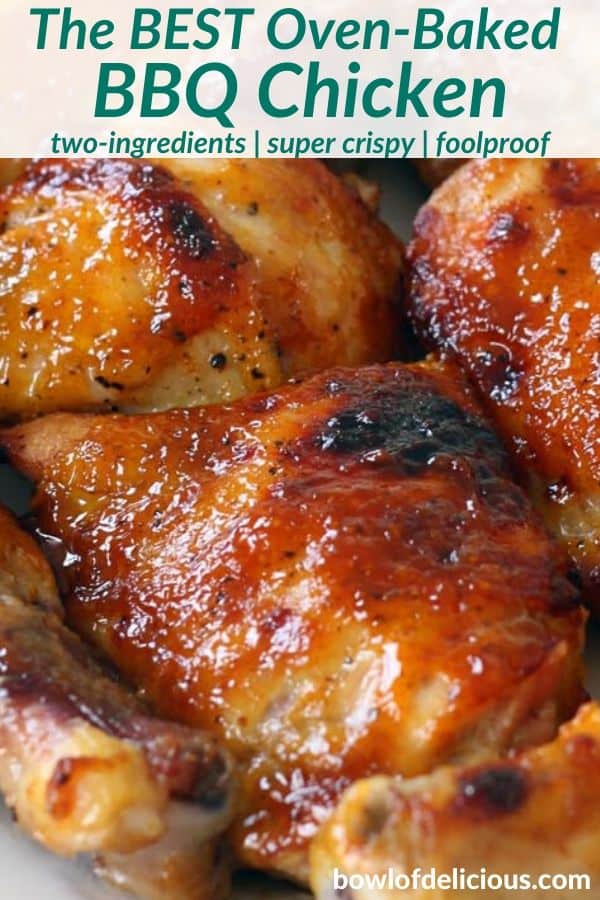
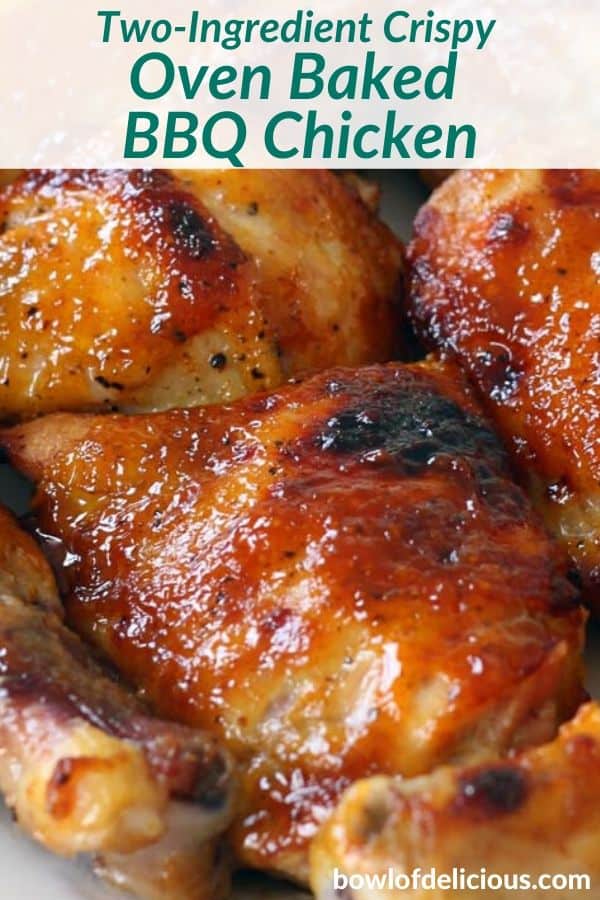
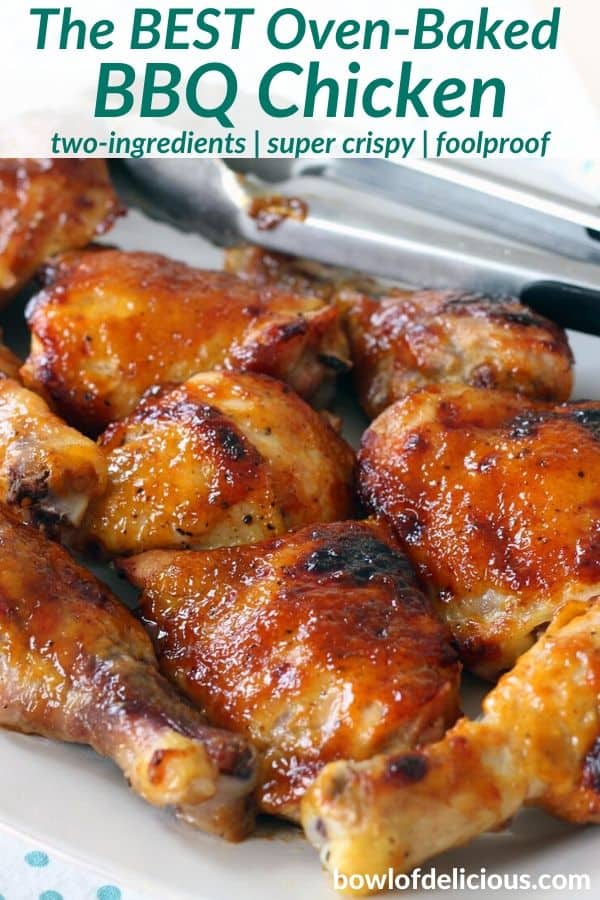
This crispy oven bbq chicken recipe uses only TWO INGREDIENTS – barbecue sauce and chicken (plus a little olive oil, salt, and pepper) – to make the crispiest, most perfectly glazed, sweet, sticky, and juicy baked barbecue chicken you will ever have.
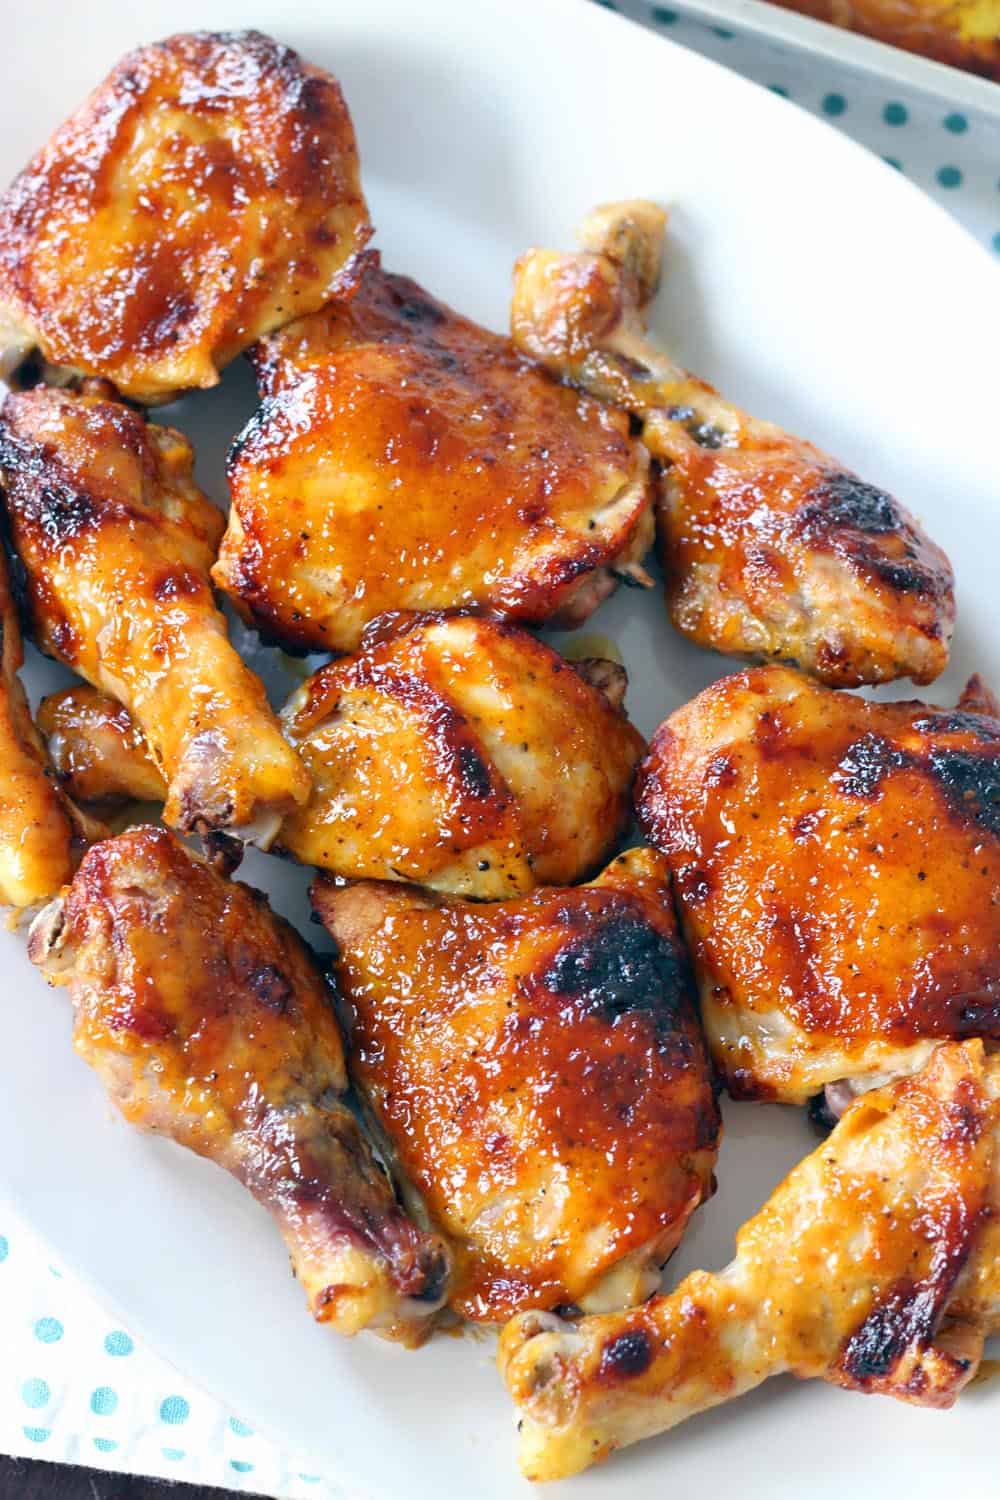
That’s right- only TWO INGREDIENTS! Your favorite BBQ sauce, and some chicken, along with a little oil, salt, and pepper.
And the other great thing- this recipe doesn’t require any marinating! You can just dive right in and cook it quickly.
There are a few tricks to getting the BEST, crispiest, juiciest oven bbq chicken with a thick, sticky, sweet glaze of bbq sauce on top. In this post, I’ll go over exactly how to make the best oven bbq chicken ever. There’s a reason why this recipe has been rated 5 stars by over 70 people and has been pinned almost 400K times!
What cut of chicken is best to use for oven bbq chicken?
For the juiciest, most tender oven bbq chicken, you’re definitely going to want to use bone-in, skin on chicken pieces for this. I used a mix of thighs and drumsticks, and I do recommend using thighs and/or legs, since dark meat is harder to overcook and almost always tastes juicier than white.
Here’s a general run-down of which cuts are worst and best for oven bbq chicken:
- Worst: boneless, skinless chicken breasts
- Not quite as bad: boneless, skinless chicken thighs
- Better: bone-in, skin on chicken breasts
- Best: bone-in, skin-on chicken thighs and/or legs
If you want to use chicken breasts, I recommend making sure you get bone-in, skin on breasts. Or at the very least, bone-in. The skin and the bone both help keep the chicken super juicy. And if you use dark meat as well, you’ve hit the trifecta! Using bone-in, skin on dark meat guarantees juicy, tender chicken every time. As a bonus: these pieces are generally a lot less expensive!
If you really want to use boneless, skinless chicken breasts, make sure you cook them for less time. Check out the recipe notes for how to do it. For a recipe that uses bone-in, skin OFF chicken thighs, check out this Spiced Chicken and Rice with Apples and Raisins.
And if you’re looking for super high quality chicken at a reasonable price, check out ButcherBox!
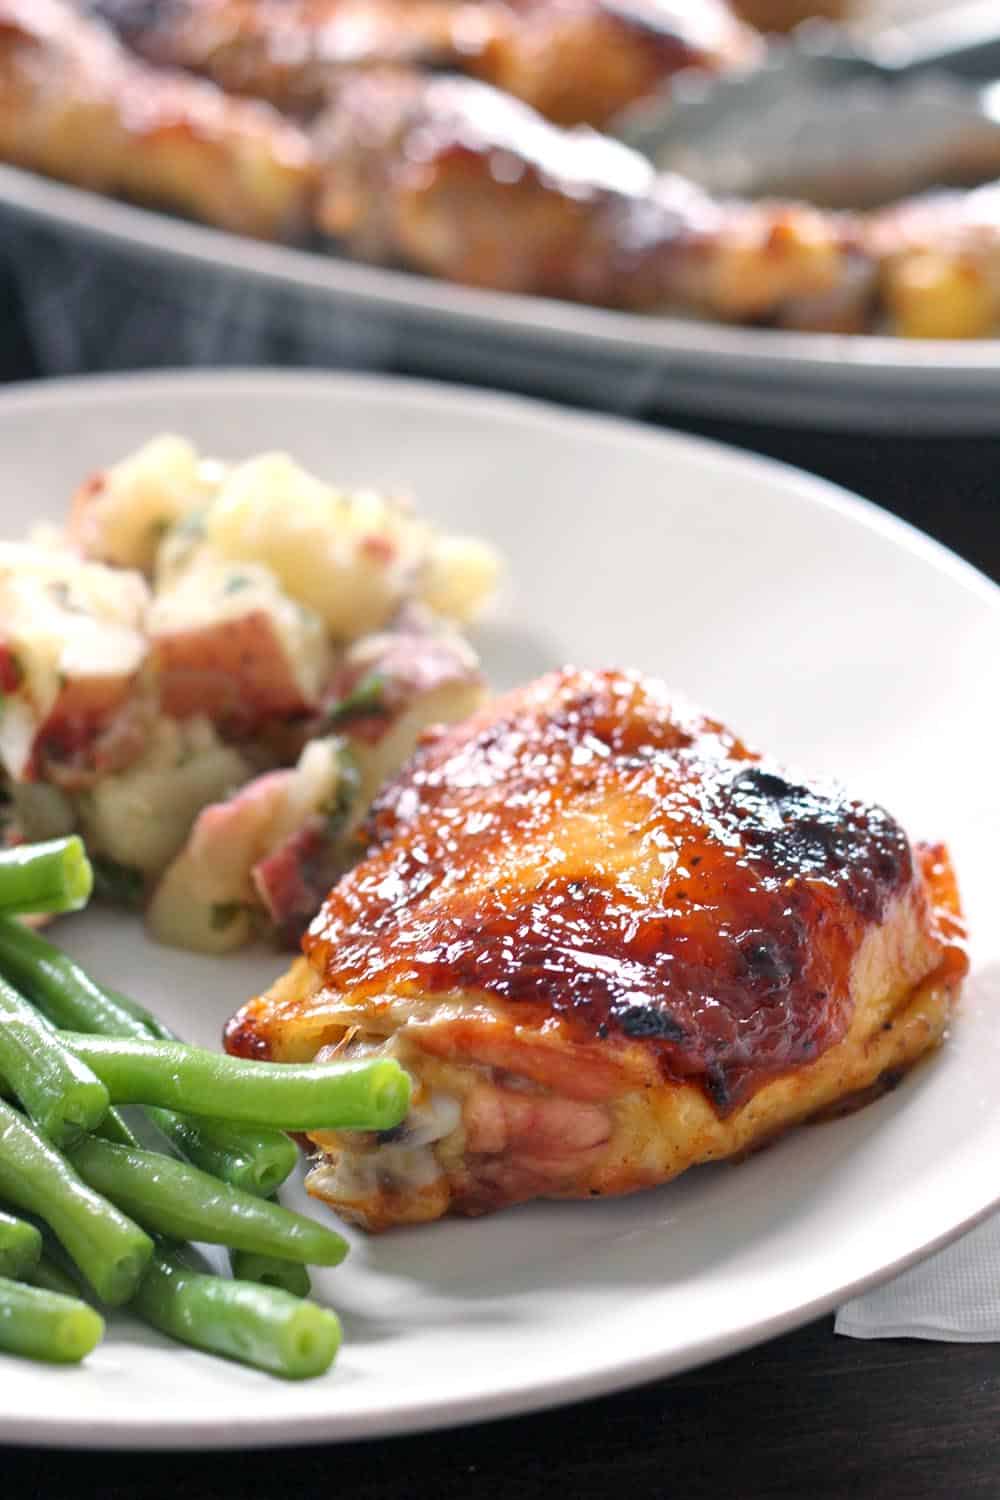
How to get a super THICK BBQ glaze
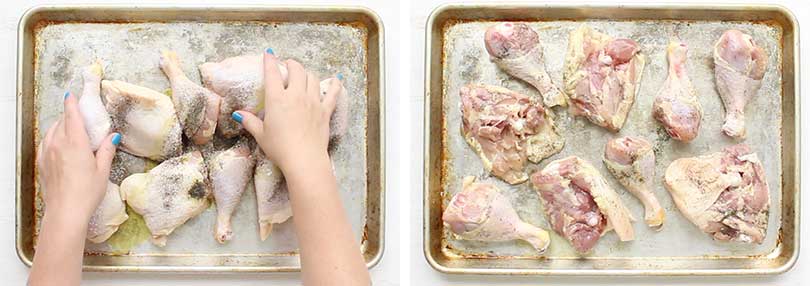
First, the chicken is seasoned with oil, salt and pepper, placed skin side down on a rimmed baking sheet, and roasted for 25 minutes.
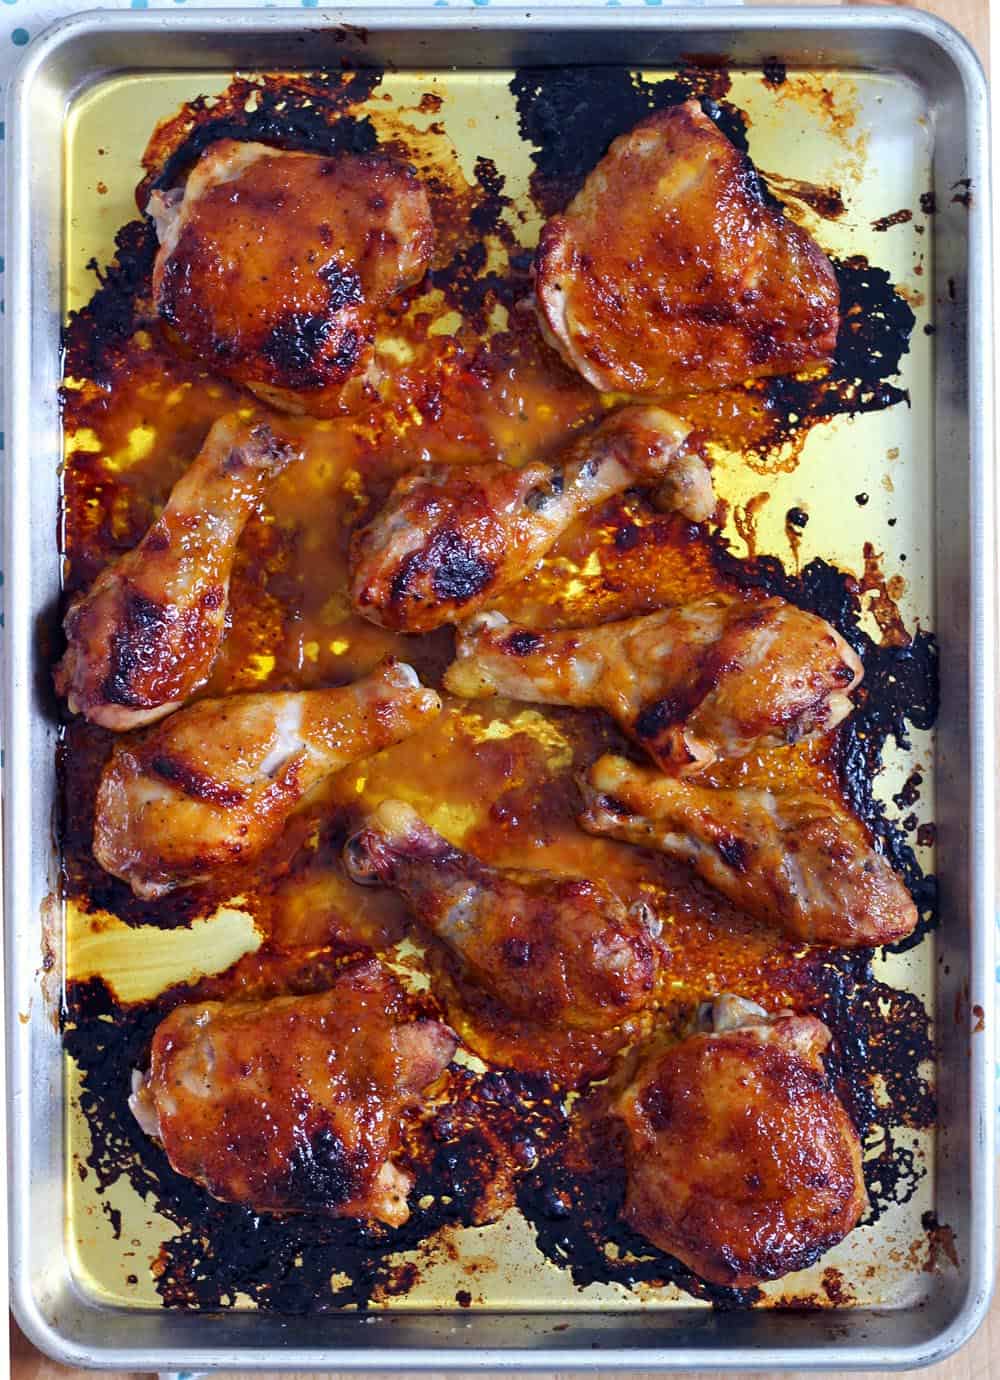
Then, the chicken is removed from the oven and basted with BBQ sauce THREE times.
Each time BBQ sauce is added, it thickens and caramelizes in the oven. By the time you’ve added that third layer, you’ve got a delicious thick, sweet, sticky layer of BBQ sauce on every inch of the chicken.
YUM.

How to get CRISPY, CHARRED SKIN.
Oh boy, do I love some good crispy chicken skin. Those dark, charred parts of oven bbq chicken are the best!
Something to note: these chicken pieces are smothered in sauce, so the skin won’t ever be quite as crispy as when you roast it when herbs and butter, for example.
Here are some tips for getting that dark, charred, crispy skin:
- Broil the chicken at the end. After you’re done cooking it, if the skin isn’t as crisp as you like, move the oven rack up and turn on your broiler. Keep an eye on it- just a few minutes should do the trick!
- Cook the chicken on a baking rack. Using a rack nestled into your rimmed baking sheet will elevate the chicken and cause air to circulate around the whole piece, rather than having it sit in the juices. If you do this, just keep it skin-side up the whole time- no need to flip!
What kind of BBQ sauce should I use?
You can use any kind you want! I live right down the street from Salt Lick BBQ in Driftwood, TX, and I’m obsessed with their Spicy BBQ Sauce.
A lot of readers have commented that they’ve used Sweet Baby Ray’s with great results.
Something to keep in mind: a lot of store-bought BBQ sauces have a lot of added sugar. Frankly, it’s what makes it taste so good and sugar is vital for getting that thick caramelization. You can make your own homemade bbq sauce if you prefer.
Prepare yourself for finger-licking deliciousness.
What kind of baking sheet should I use?
I cannot recommend enough using a Nordic Ware Natural Aluminum Baker’s Half Sheet to make this oven baked BBQ chicken, and to roast literally anything you want. I have two and they are the ONLY baking sheets I will EVER use. They’re super sturdy, so they don’t buckle when the temperature changes (it’s the scariest thing ever when hot oil splatters when your pan buckles!). And they conduct heat well to make sure that your food is well cooked on the top and bottom, and they are really good at being non-stick, even though they don’t have any non-stick coating (it’s all natural!).
PLUS, they are only around $12! Go get one!
If you prefer to bake the chicken on a rack, so it doesn’t sit in the juices the whole time and crisps up a bit better, this rack nestles in perfectly to the rimmed baking sheet (see recipe notes for tips on getting the skin extra crispy).
What to serve with oven baked BBQ Chicken
- Southern Style Green Beans
- Cold Potato Salad with Buttermilk Dill Dressing
- Mashed Cauliflower with Butter and Herbs
- 20-Minute Creamy Lemony Vegetable Pasta Salad
- Spicy Jalapeño Cilantro Slaw
Want a different take on the same recipe? This Oven BBQ Salmon uses a similar basting technique in only 10 minutes!
Did you make this oven BBQ chicken recipe? Please comment and rate it below!
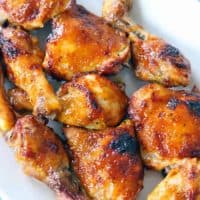
Two Ingredient Crispy Oven Baked BBQ Chicken
Ingredients
- 8-10 chicken thighs and/or drumsticks bone-in, skin on
- 2 cups of your favorite bbq sauce
- 2 tablespoons extra-virgin olive oil or canola oil
Instructions
- Preheat oven to 400 degrees F.
- Coat the chicken on all sides with olive oil and season with salt and pepper.
- Place the chicken skin side down on a rimmed baking sheet. Bake for 25 minutes.
- Remove chicken from oven and turn the temperature of the oven up to 425 degrees.Tip: be sure to close the oven door every time you remove the chicken in this recipe, as you don't want the heat from the oven to escape!
- Coat the top of the chicken with barbecue sauce using a basting brush. Use a spatula to flip the chicken over, being careful not to tear the skin. Baste the other side of the chicken, and place back in the oven for 7 minutes.
- Remove from oven, baste top with barbecue sauce, and place back in oven for 7 more minutes.
- Remove from the oven again and baste again, for a total of three times, and place back in oven for 7 more minutes. The chicken will have cooked for a total of 46 minutes. This should be enough time for it to cook fully, but you should always double check temperature with a meat thermometer to make sure it's at least 165 degrees F.Tip: You should double check the temperature of the chicken at the thickest part of the meat using a high quality meat thermometer – it is fully cooked at 165 degrees F but dark meat is best at 180-190 degrees F, see notes for more on this). Give it more time in the oven to cook if it's not up to temperature. See notes for more troubleshooting.
- If the chicken hasn't crisped and browned to your liking, move the oven rack up and broil the chicken for 3-5 minutes, until it's more crispy.
Video
Notes
- Crispy skin tips: Pat the chicken dry before cooking. You can also place the chicken skin side up from the beginning (skip the first, skin side down step) on a baking rack nestled into a rimmed baking sheet, to elevate it so it’s not sitting in its juices, resulting in more crispiness all around (and less fat!). Bake for 25 minutes, then add BBQ sauce as directed, do not flip.
- Water chilled vs. Air Chilled chicken: Water chilled chicken is cheaper, but it contains a high water content and a diluted flavor. I recommend using air chilled chicken if you can afford it. But if you need to use water chilled chicken (this is the most common kind) – here are my tips for making sure it’s not too soggy or watery:
- Dry brine it. Place the chicken pieces on a wire baking rack on a rimmed baking sheet and rub them with salt, and leave it uncovered in the fridge for 2-12 hours. Some of the water will be drawn out by the salt, and will collect in the bottom of the baking sheet. Elevating the chicken on the rack will ensure it’s not reabsorbing the liquid. As a bonus, this will also flavor the meat and help it retain moisture when cooking. You can also follow the advice above for crispy skin, baking the chicken directly on the wire rack. Give the chicken a rinse to remove the majority of the salt, pat dry, and don’t add much or any additional salt to the chicken.
- Bone-in, skin on chicken thighs and drumsticks are the best for juicy chicken every time. If you use chicken breasts, I recommend bone-in, skin on.
- If you really want to use boneless, skinless chicken breasts, I recommend baking them initially for only 10 minutes instead of 25, add some bbq sauce on the top, flip them, then continue to baste them in BBQ sauce every 7 minutes three times. This will result in a total cooking time slightly over 30 minutes. At this point they will probably be done cooking, but you should use a meat thermometer inserted into the thickest part to double check that they are 165 degrees F.
- Over-cooking the chicken – using thighs actually ensures you probably won’t overcook the chicken! Thighs are best when they are more around 185-195 degrees F, but safe to eat at 165 degrees F. But like other fattier cuts of meat, cooking it for longer can yield a more tender result.
- If you want to use wings, use the same timing and temp.
- Recipe and basting technique adapted from Ree Drummond’s Oven BBQ chicken recipe.
- Some users have commented that this recipe makes for a very messy oven. This has never happened to me, so I imagine it has to do with a specific oven and/or pan. But if you find that it is splattering a lot, you can tent it with foil to prevent a mess!
- Some users have had issues with the chicken being “fully cooked” in the given time. 46 minutes is MORE than enough time to cook chicken pieces, but here is some troubleshooting that might help:
- Make sure your chicken is fully defrosted if previously frozen.
- If using giant chicken thighs or larger pieces like legs, it may need more time.
- Measure the temperature in the thickest part of the meat, not the bone.
- Taking the temperature is the only safe way to gauge doneness. Chicken may look pink or even reddish depending on the type – if it’s organic, or a young chicken, this can happen with a chemical reaction with the hemoglobin. This is why the advice of looking for clear juices to indicate doneness is outdated and should not be used.
Nutrition
Nutrition Information Disclaimer
The provided nutrition information is my best estimate and does not include any added sodium from seasoning to taste, any optional ingredients, and it does not take brands into account. I use an automatic API to calculate this information. Feel free to calculate it yourself using one of these tools:
This oven bbq chicken recipe originally appeared on Bowl of Delicious in September 2015. It has been updated to include more detailed instructions, a video, tips and tricks, and process shots.


James
When do you turn the chicken over and cook it skin side up or do you cook it skin down the entire time?
Elizabeth Lindemann
You cook it skin side up after flipping it. You can also do skin side up the whole time if you want to skip that first step, just bake it for longer! Hope that helps!
Mary Ann DiMaggio
After I bake my Chicken Thighs, I always drain the Juices out, then based a couple of times…
It comes out Delicious without all the chicken Juice in my Chicken
Elizabeth Lindemann
Thanks for the tip!
Miranda
I don’t remember when my mom found this recipe and started making it, but it became a family favorite ever since. Every time my daughter wants “crispy chicken”, I give my mom a call and she reminds me where she found the recipe. I’m finally reviewing (saving the recipe too haha) and saying this is AMAZING and A KEEPER! Easy to make and so yummy.
Elizabeth Lindemann
So glad you liked it! Crispy chicken… I love it!
Mari
Absolutely delicious and easy! Thank you!
Elizabeth Lindemann
So glad you liked it!
Kate
We had a delicious meal tonight, thanks to this recipe. It was super-easy and super-tasty!
Elizabeth Lindemann
So glad you liked it!
Chris
Very good indeed
Elizabeth Lindemann
So glad you liked it!
Don
This recipe definitely dialed in 100%. Tried it experimentally, have not looked for any others. Simple but awesome.
Elizabeth Lindemann
So glad you liked it!
Mikey
This is my go to recipe and YES, Sweet Baby Ray’s Spicy BBQ Sauce ROCKS!!!😍😍😍
Elizabeth Lindemann
So glad you liked it!
thebangaloredhaba
I tried this two-ingredient Oven Crispy BBQ Chicken recipe and it was a game changer! The simplicity of using just chicken and barbecue sauce makes this dish a must-have for busy weeknights. The chicken turned out incredibly tender and delicious, with a beautifully crispy crust. Plus, cleanup is a breeze! I will definitely be adding this recipe to my regular dinners. Thanks for sharing
Elizabeth Lindemann
So glad you liked it!
Beckie Hobson
Just tried this for the first time, following the instructions exactly, including using a baking rack. I put parchment paper under the rack for ease in cleanup. I use a combo of Sweet baby rays and Stubbs BBQ sauce, for smokey, slightly peppery sweetness.
Delicous – thank you!!!!
Elizabeth Lindemann
So glad you liked it! Parchment paper is a great way to make clean up easier. Foil can also be used, especially if the broiler is used toward the end. Thanks for sharing this tip!
Tracy
Awesome recipe weather with BBQ sauce or naked, the skin is absolutely crispy or sticky with the BBQ sauce. FYI a quick trtrick for a meal, quarter some potatoes and toss in oil & fav seasonings & cook off at the same time.
Elizabeth Lindemann
So glad you liked it!
Tom
Excellent! I used your suggestion to use a baking rack (I put foil underneath for easier clean up), and followed your temperatures and times precisely, then broiled for about 1-2 minutes just because. Oh my goodness.
Elizabeth Lindemann
So glad you liked it!
Charlotte
Hi, your recipe looks delicious! I have only 4 chicken thighs to work with. What kind of adjustments do I need to make with the ingredients and cooking time? Thanks in advance!
Elizabeth Lindemann
You shouldn’t need to adjust much with cooking time! You can hover over where it says servings: 8 pieces in the recipe card, and use the slider to adjust to 4 instead of 8. That will adjust the amount of ingredients in the list. Hope that helps!
Linda Gutierrez
I have a Convectional Oven. What temperature should I use to bake these?
Elizabeth Lindemann
I am unfamiliar with convectional oven temperature conversions, but this article may help: https://www.marthastewart.com/8071049/convection-oven-recipe-conversion – good luck!
Tina
Seems pretty impossible to make this recipe without tearing the skin. Being careful only goes so far after it’s baked skin side down for 25 minutes. Any suggestions?
Elizabeth Lindemann
Happy to help with this! It can be tricky to not tear the skin, sometimes it just happens, and practice makes perfect! One suggestion I have is to use a thin metal spatula – a fish spatula or metal turner – to be able to really separate the chicken pieces close to the surface of the sheet pan. Otherwise, a non-stick may help – just be sure to not use metal utensils for this, and not to broil with a nonstick pan. You can also just cook the chicken skin-side up the whole time to avoid this all together (cooking skin-side down first does help with more even cooking but really the difference is pretty negligible, especially if it’s going to save you some stress). Hope that helps, and better luck next time!
Amy Lewis
Hi
I’m excited to try this recipe!
What is the recommended temperature & cook time for only (2) medium sized thighs? *skin & bone of course. 😉
Elizabeth Lindemann
You shouldn’t need to adjust cooking time much for fewer pieces of chicken – it might take a little less time but nothing significant. Hope it turns out well for you!
Randy Meyer
Great recipe! Made it for my family with bone-in chicken thighs and it was awesome! Now I found some chicken quarters on sale that I couldn’t pass up, how much longer do you think I should bake them? Should I bake at 400 for 30-35 min then follow the recipe or just make each basting/bake a little longer?
Elizabeth Lindemann
So glad you liked it! I would just do the initial bake time for a little longer for whole chicken quarters. But it shouldn’t matter too much – as long as you give them more overall time it doesn’t really matter when you do it – in the beginning, during basting, or added at the end. Hope that helps!
Elizabeth
I have been on the hunt for a really good oven baked barbecue chicken recipe and I finally found it with this one!! I followed this recipe to the tee and it came out perfect. I did broil the chicken for about five minutes at the end because my family likes a good char and my chicken was done all the way through, and it was very tender and juicy. My man said that the chicken look like it came right off the grill.
After trying this recipe, I really believe that the reviews stating that the chicken wasn’t done had to be user error or a dysfunction with oven temperatures.
Thank you for a great recipe. This one has definitely a keeper.
Elizabeth Lindemann
So glad you like it! And yes, I agree – it’s basically impossible for this chicken to be underdone with the timing, unless there is another factor like the pieces are huge or they haven’t been defrosted all the way or something. So glad you had success with it, and thanks for the comment!
Kathy jahnke
This is the only recipe that I use it turns out great
Elizabeth Lindemann
So glad you liked it!
Cindy
This was so easy and my family loved it! I was short on time and couldn’t wait for the chicken to cook all the way through with baking, so I boiled the drumsticks for 10-15 mins first and then followed the recipe as directed and they turned out great! Thanks for the quick and easy meal!
Elizabeth Lindemann
So glad you liked it! What a great idea to par-cook the chicken beforehand!
Tammy
This is my “Go To” Bbq chicken recipe! Easy to do and tastes Great. My family loves it! Thank you for sharing!
Elizabeth Lindemann
So glad you liked it!