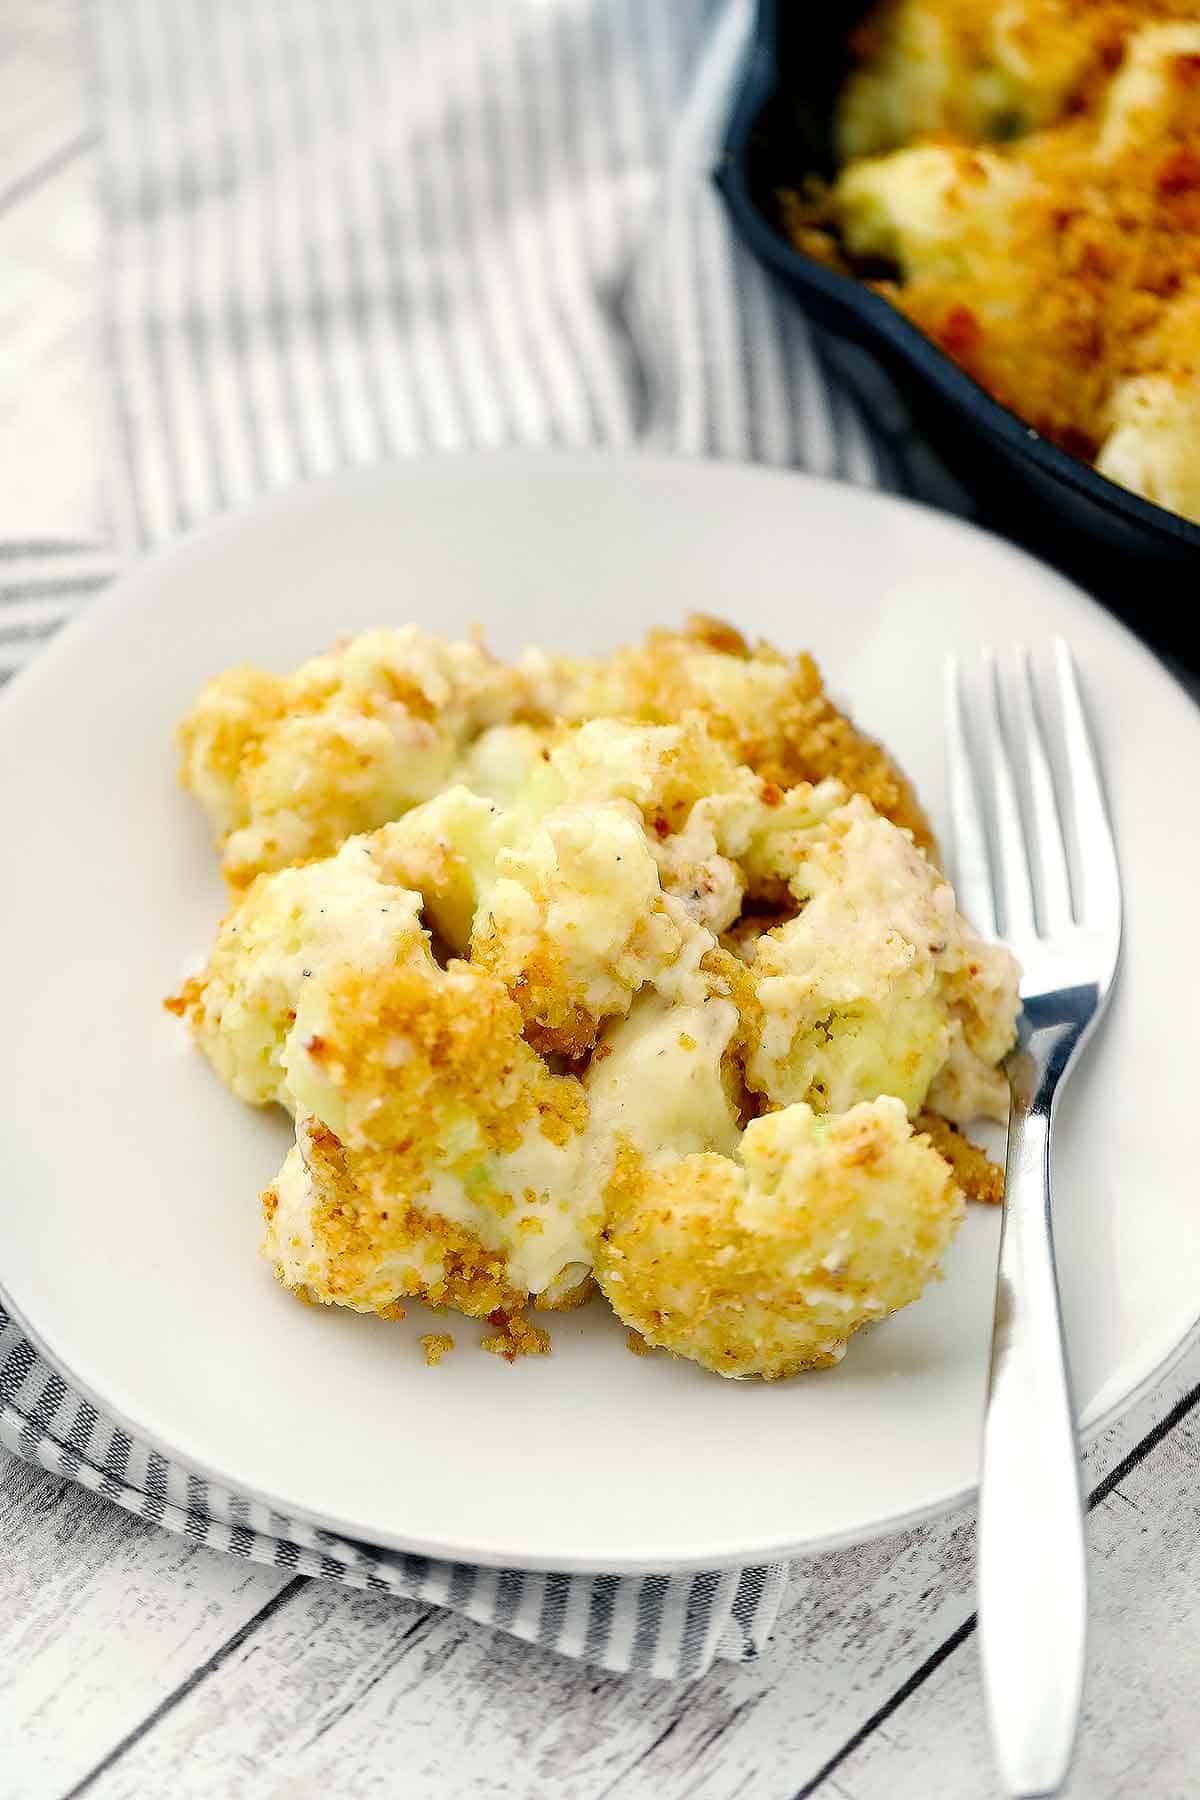
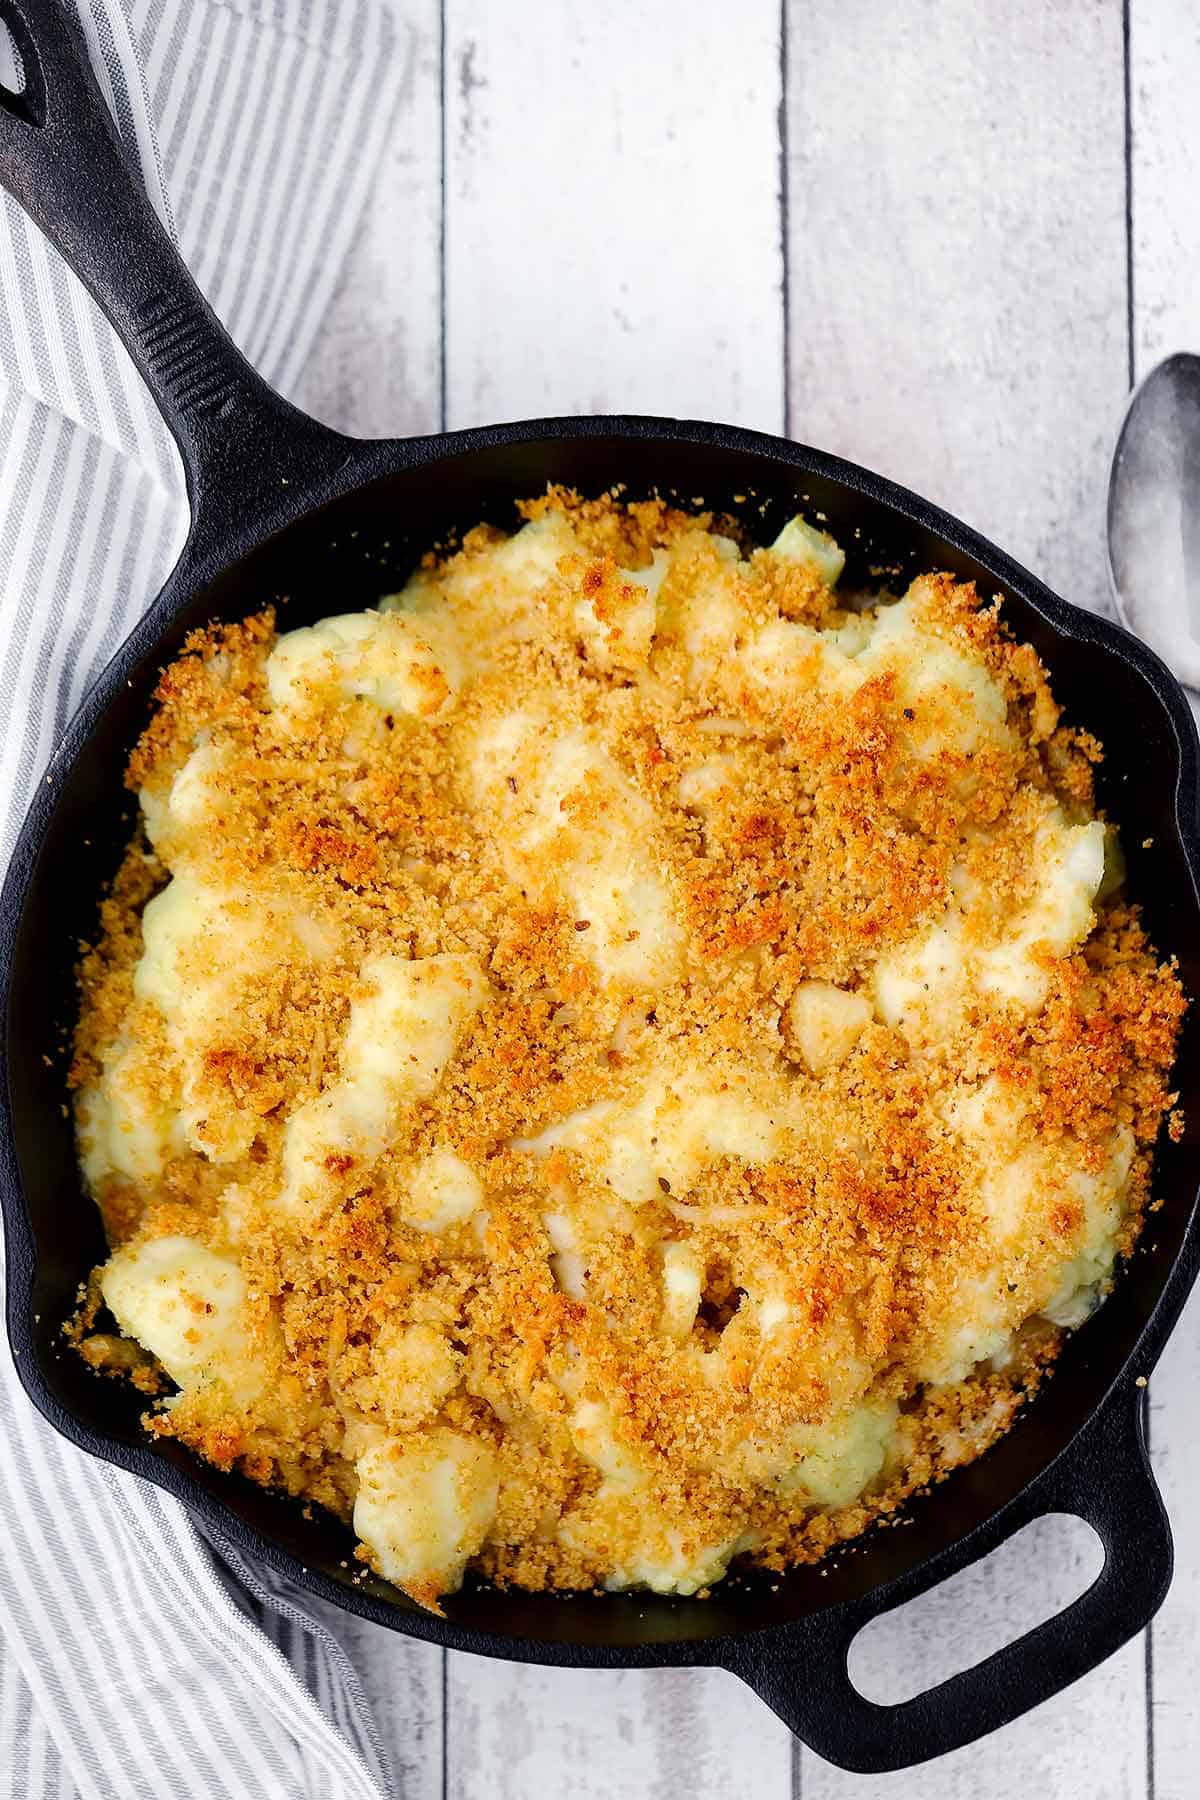
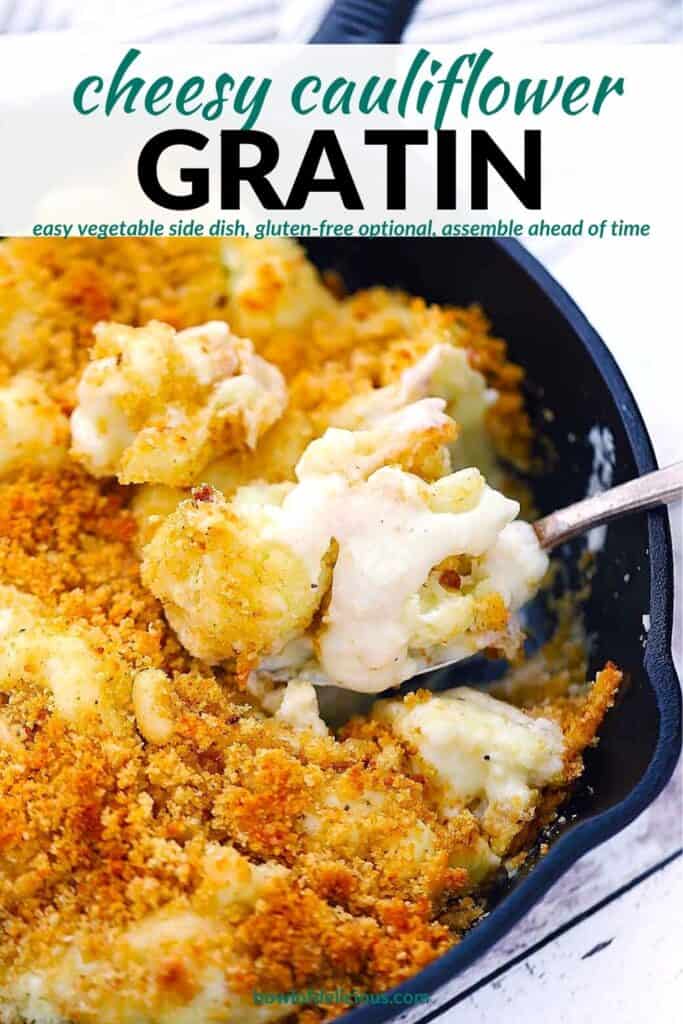
Cauliflower Gratin is a delicious vegetarian recipe that turns this humble vegetable into pure decadence, smothered in a gruyere and parmesan cheese sauce and topped with buttery breadcrumbs! It has all the taste of baked mac and cheese without the pasta, and it’s great for a side dish or a meal on its own.
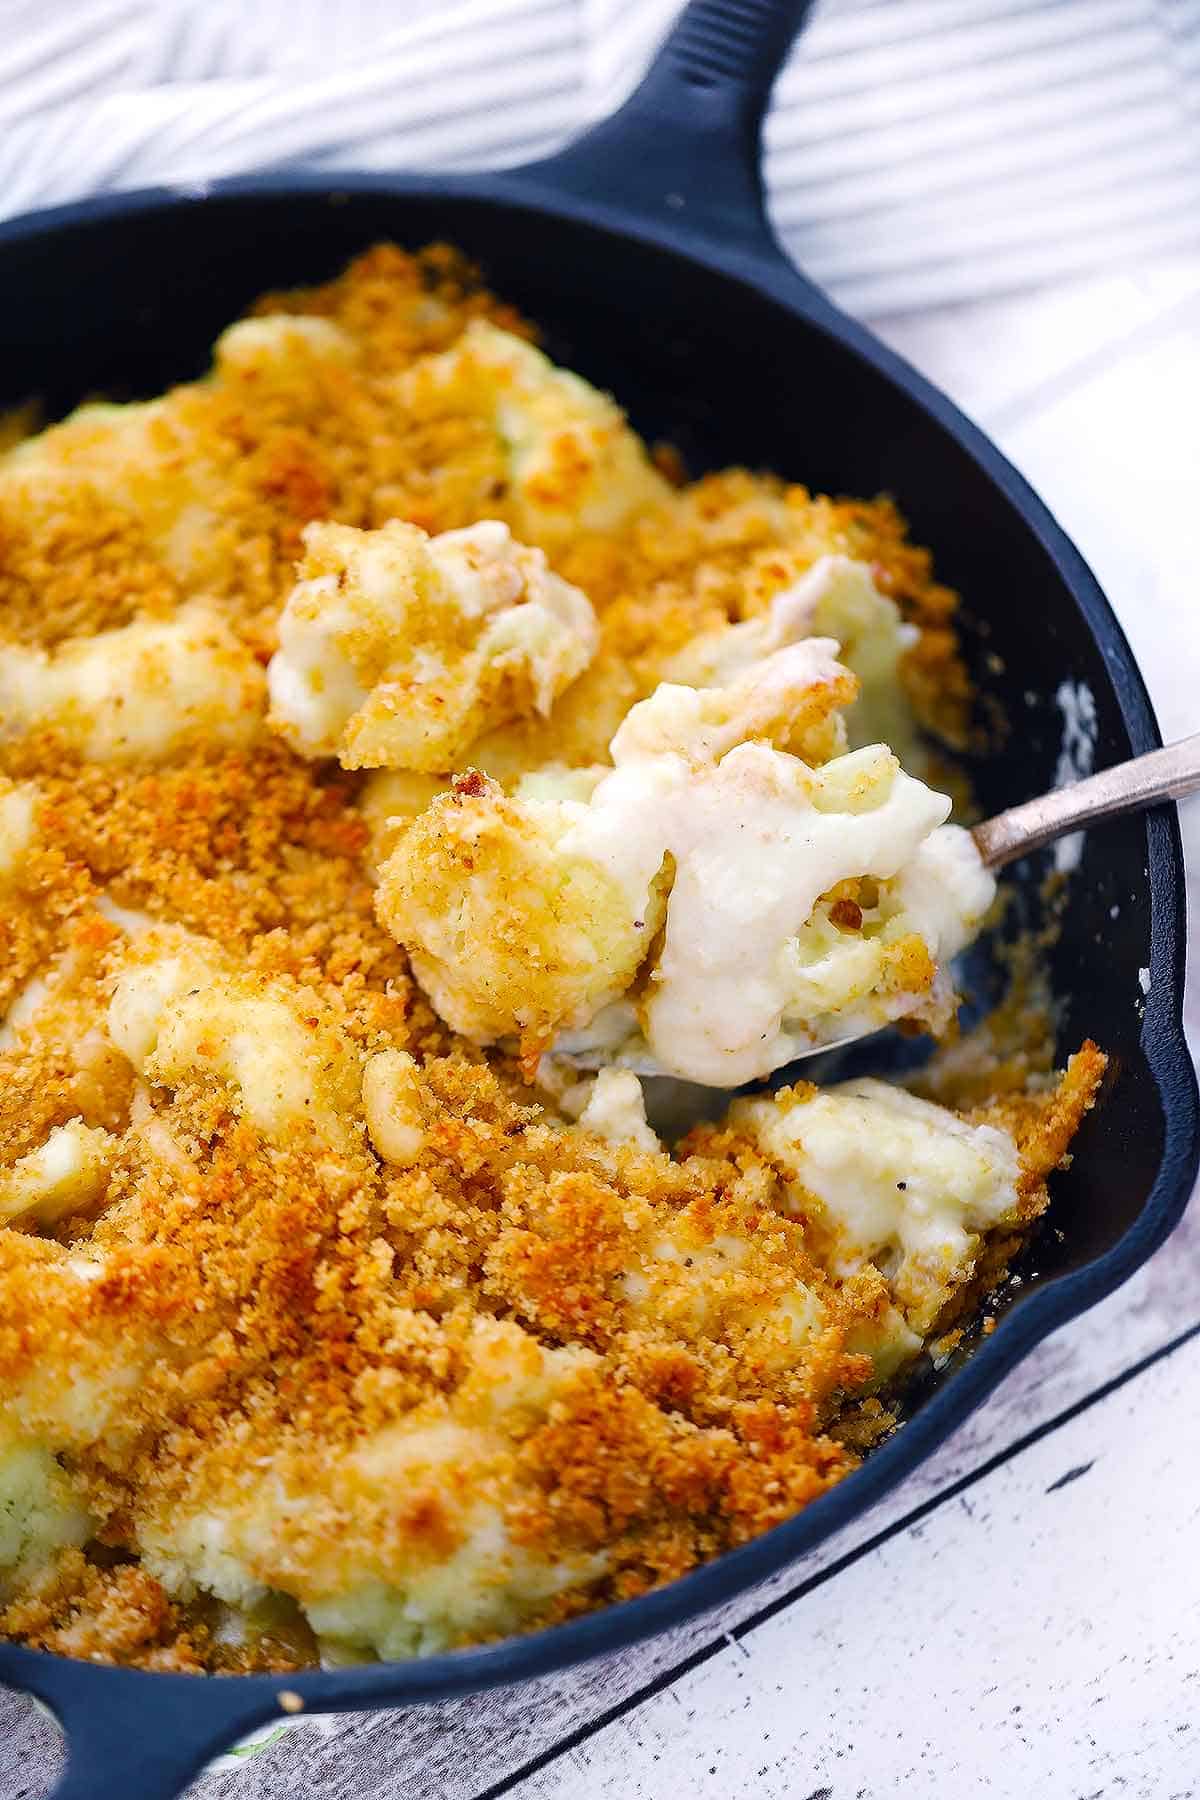
Whether you’re looking for a veggie-packed alternative to baked mac and cheese or a decadent side dish for a holiday dinner, this cauliflower gratin is the perfect thing.
While there are a few more steps and dishes used in this recipe than I usually post about, each step is so simple and easy that it’s hard to mess this up. I mean, it’s hard to mess ANYTHING smothered in a cheese sauce up!
Plus, you only need a few ingredients and you can assemble it ahead of time and pop it in the oven when you’re ready.
Ingredients and Substitutions
- Cauliflower – I cut florets from a large head of cauliflower. You can buy pre-cut florets or use frozen if you prefer.
- Butter
- All-purpose flour – use gluten-free if necessary.
- Milk – preferably whole, but you can use low fat or skim for a lighter version.
- Gruyere cheese – this is a bit pricy but absolutely delicious. Use sharp cheddar as an alternative.
- Parmesan cheese – or another hard Italian style cheese like Romano or Asagio
- Breadcrumbs – plain regular breadcrumbs work great, and panko breadcrumbs work too.
How to make Cauliflower Gratin
- BLANCH the cauliflower in a large pot of boiling salted water for only 4-5 minutes. You don’t want them overcooked. Then drain and set aside for later.
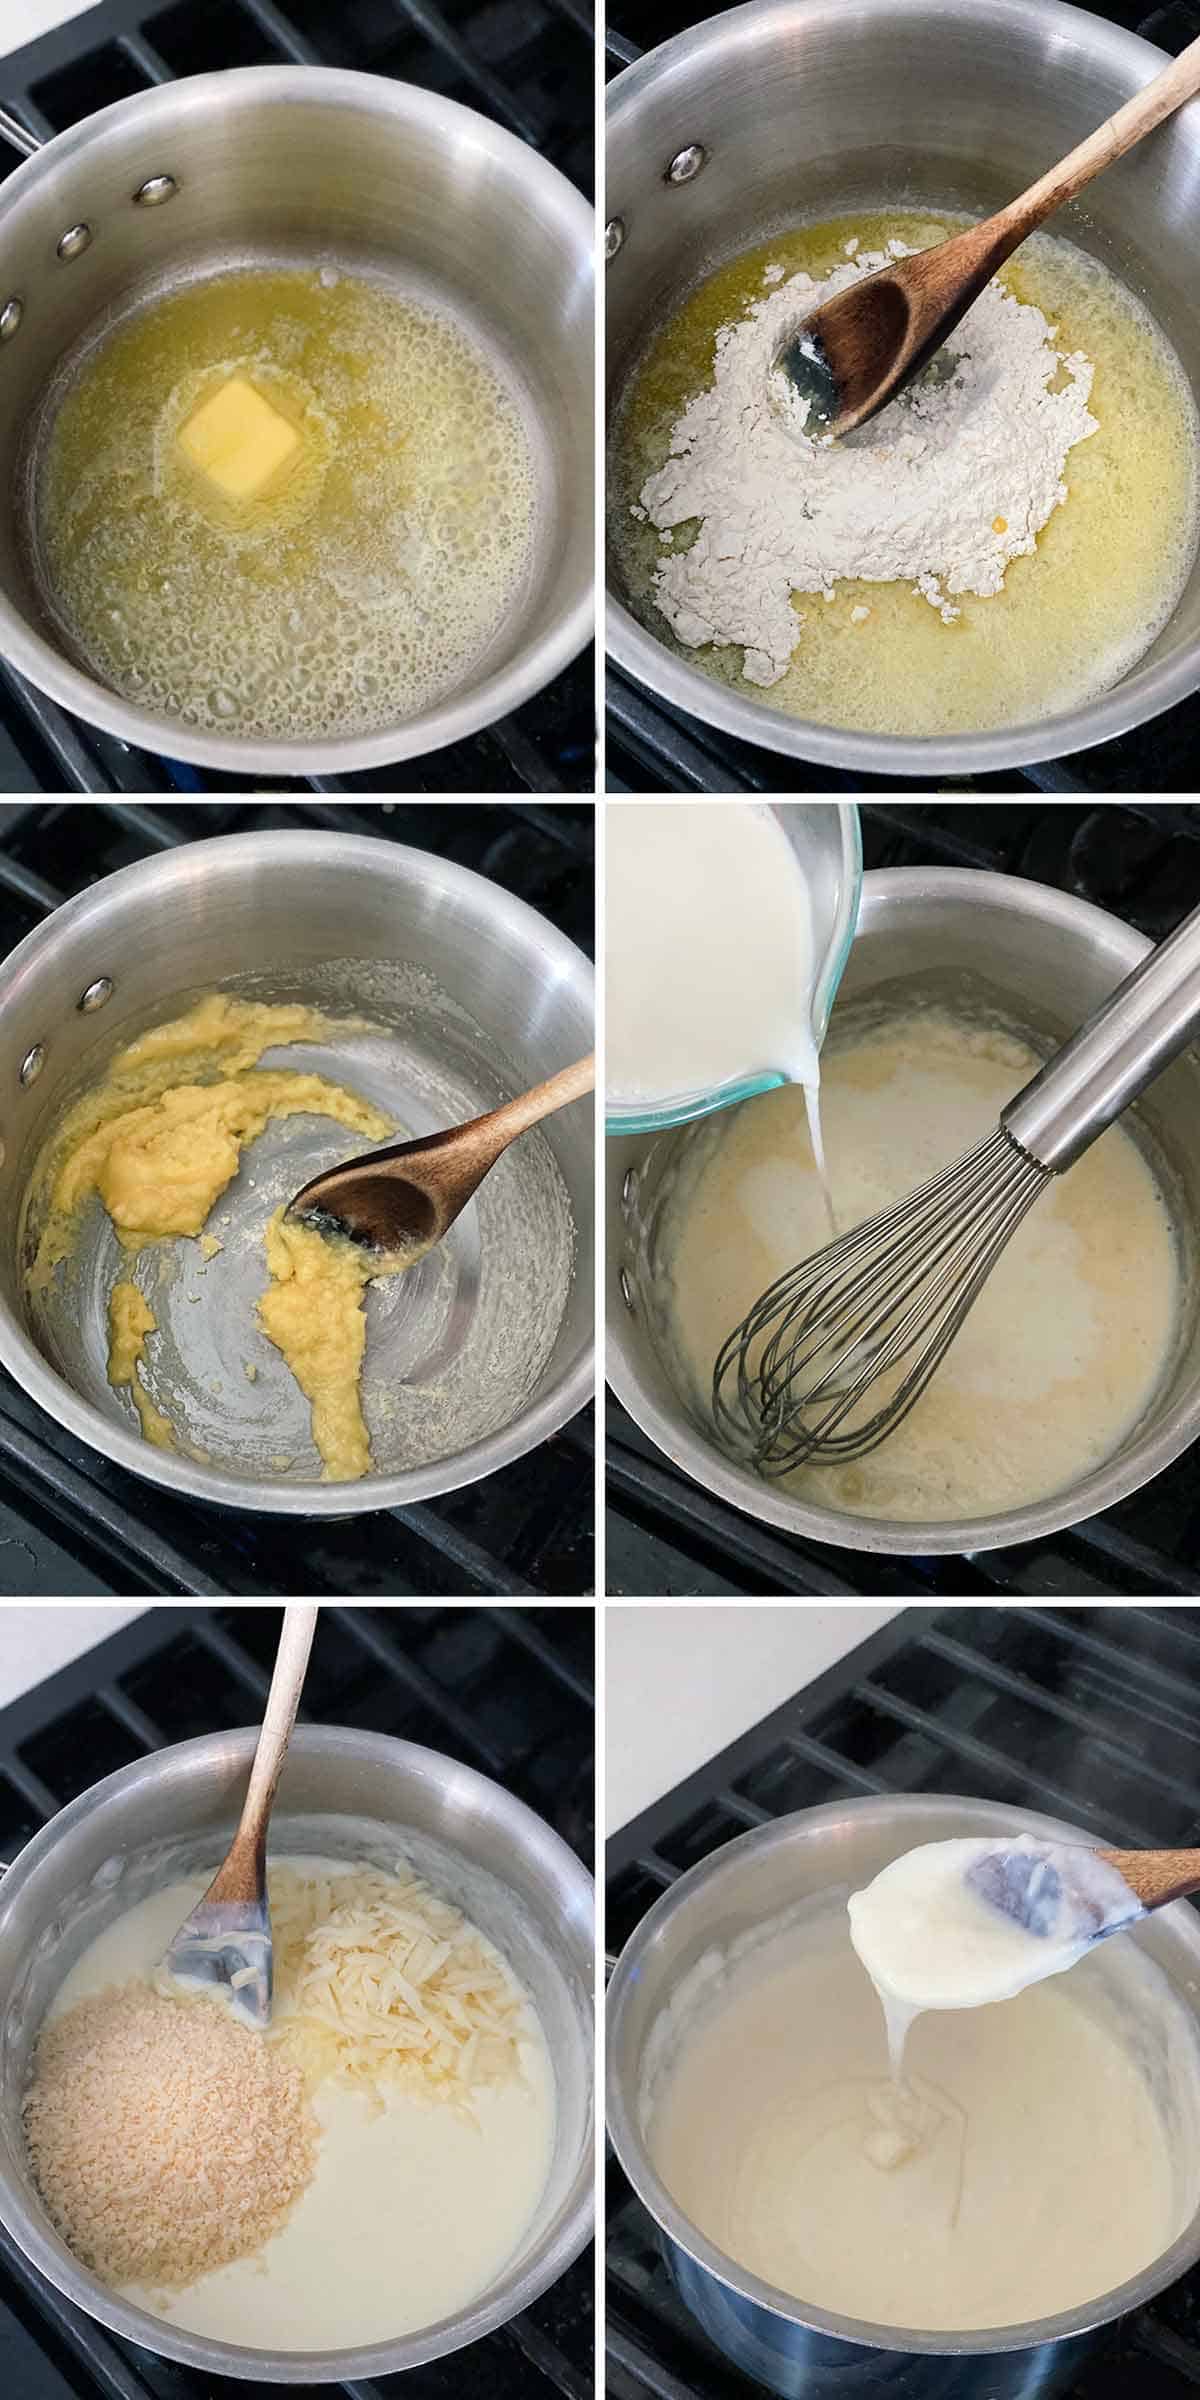
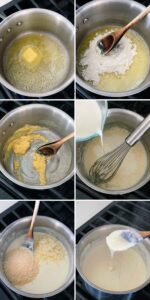
- MAKE THE CHEESE SAUCE in a medium sauce pan. Melt the butter then add flour and stir to make a roux. Add milk gradually and whisk until heated and thickened, then add the cheese and stir until melted. Season with salt and pepper.
- MIX the breadcrumbs with some melted butter and cheese.
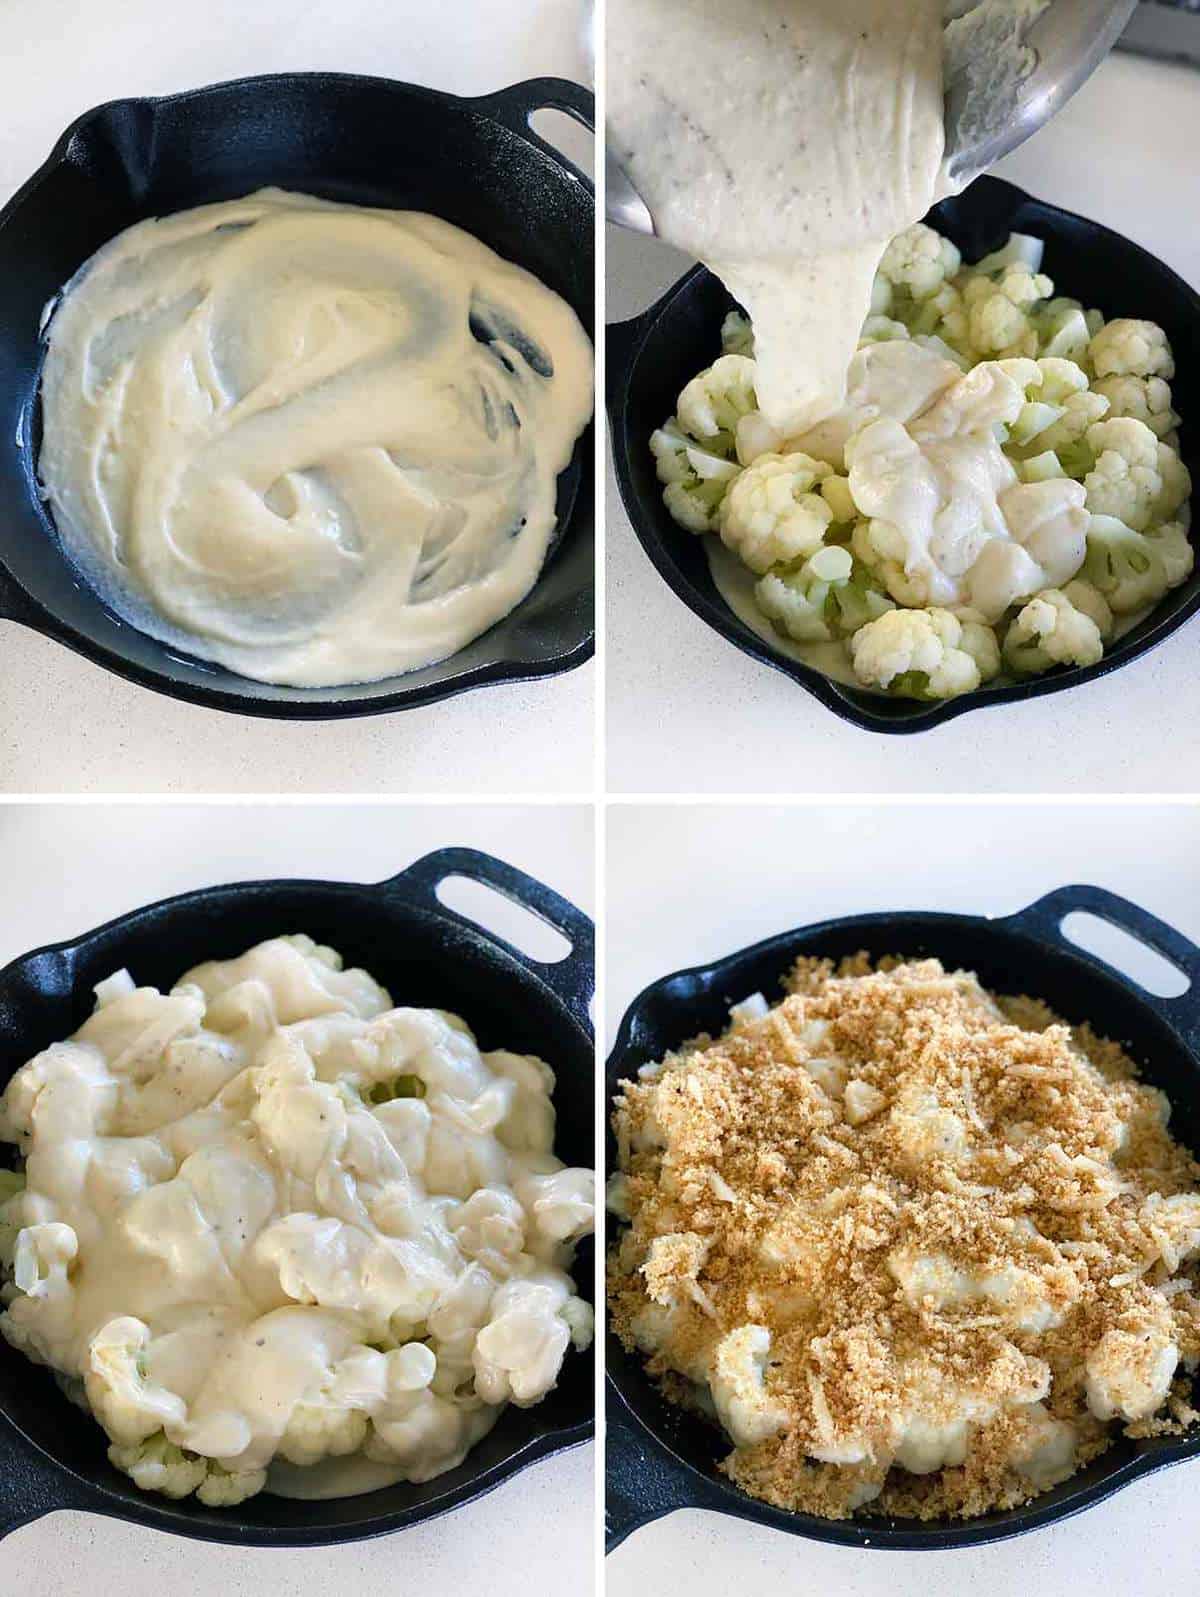
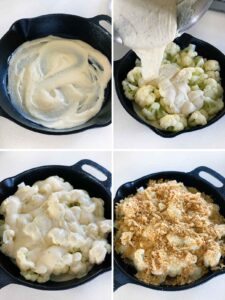
- ASSEMBLE the gratin with a layer of cheese sauce, the blanched cauliflower, the rest of the cheese sauce, and the breadcrumb mixture in a baking dish or oven safe skillet.
- BAKE until golden brown and bubbly.
FAQs
Can I make cauliflower gratin ahead of time?
You can assemble the gratin ahead of time, but I don’t recommend baking it and reheating it, as the breadcrumbs will get soggy stored in the fridge.
Assemble the gratin and mix the breadcrumb mixture and store separately in your fridge up to 48 hours in advance. When you are ready to cook, just top with breadcrumbs and bake! You may need 5-10 minutes longer since it will be cold to start.
Can I make it gluten-free?
Sure! Just use gluten free flour for the cheese sauce, and gluten free breadcrumbs. Or, you can omit the breadcrumb and butter mixture and just top with the extra cheese before baking.
Are the leftovers OK to eat?
The leftovers are delicious, but keep in mind the breadcrumbs will get soggy when stored in the fridge. Cauliflower gratin is best served fresh.
You can store leftovers for 2-3 days in an airtight container in the fridge.
Can I make this with another vegetable?
You can easily substitute the cauliflower for broccoli with the exact same instructions, or use a mix of cauliflower and broccoli.
Other veggies may take more or less time to cook, so keep that in mind if you want to use something else. You may have to adjust accordingly, or look up another recipe for cooking times and instructions.
What should I serve with cauliflower gratin?
While I could eat cauliflower gratin as a meal on its own, it’s really meant as a side dish.
I love it with simple turkey breast or roast chicken. Or serve it with salmon patties or poached salmon, or a simple pan-seared steak.
For a vegetarian option, try serving it with white bean and spinach patties or mashed potato cakes.
Other cauliflower recipes
- Buffalo Cauliflower “Wings”
- Roasted Cauliflower with Pine Nuts and Raisins
- Mashed Cauliflower with Butter and Herbs
- Curried Cauliflower Soup
Other easy vegetable side dishes
- Roasted Broccoli with Garlic and Lemon
- Maple and Rosemary Glazed Sweet Potatoes
- Herb Roasted Vegetables with Balsamic Glaze
- Moroccan Spice Roasted Butternut Squash
Did you know commenting and rating recipes is one of the best ways you can support your favorite food bloggers? If you made this recipe or have a question, please click the stars below to comment and Rate this Recipe and/or share photos on social media using the hashtag #bowlofdelicious or tagging @bowlofdelicious!
Cauliflower Gratin
Equipment
- 8×11 baking dish or equivalent
- Medium Saucepan
Ingredients
- 1 large head cauliflower cut into medium sized florets (about 2 lbs.)
- kosher salt and black pepper to taste
- 4 tablespoons butter divided
- 3 tablespoons all-purpose flour
- 2 cups milk preferably whole
- 3/4 cup shredded gruyere cheese or sharp cheddar
- 3/4 cup grated parmesan cheese
- 1/2 cup plain breadcrumbs
Instructions
- Preheat oven to 375 degrees F.
- Bring a large pot of salted water to a boil. Turn heat to low, and add cauliflower florets to cook for about 5 minutes (they should be a bit tender but still firm). Drain and set aside.
- Meanwhile, add 2 tablespoons of the butter to a medium saucepan and melt over low heat. Add the flour (3 tablespoons) and stir together for about 1 minute to form a roux. Turn heat up to medium-high and gradually pour the milk in, whisking constantly, until no clumps remain. Bring to a gentle boil, turn heat back to low, and whisk constantly for about 1 minute, until it's thickened. Turn off the heat and stir in 1/2 cup of the shredded gruyere cheese and 1/2 cup of the grated parmesan cheese until melted. Season to taste with kosher salt and black pepper.
- In a small bowl or pyrex measuring cup, melt the remaining 2 tablespoons of butter. Add the breadcrumbs (1/2 cup) and the remaining 1/4 cup shredded gruyere and 1/4 cup grated parmesan. Stir together so everything is well coated in the butter.
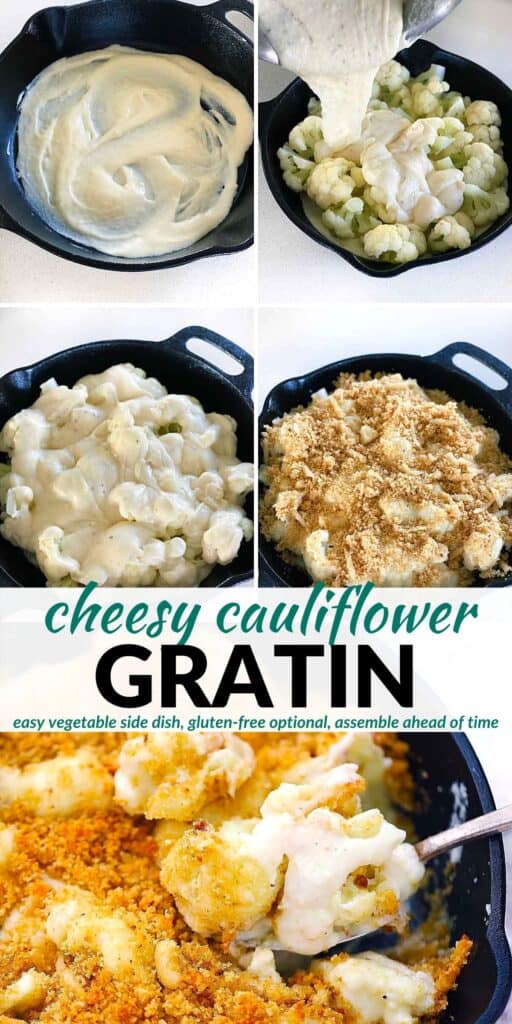
- Pour enough of the sauce in the bottom of an 8×11 or 9×13 baking dish, or a 10" or 12" cast iron skillet to thinly coat the bottom (about 1/3 of the sauce). Add the cauliflower florets on top evenly. Pour the remainder of the sauce evenly on top of the cauliflower. Sprinkle the breadcrumb mixture evenly on top of that.
- Bake at 375 degrees F for 35-40 minutes, or until golden brown and bubbly. Serve hot or at room temperature.
Notes
- This is best served fresh, as the breadcrumbs will get soggy if stored in the fridge, but leftovers will stay good for 2-3 days in the fridge (and are still yummy!).
- Need help with how to cut the cauliflower? Here’s a tutorial on how to cut broccoli or cauliflower into florets.
- Frozen cauliflower florets can also be used- just toss them frozen into the boiling water and proceed with the recipe.
- For a gluten-free version, use gluten-free all-purpose flour and gluten-free breadcrumbs OR you can omit the breadcrumbs+butter topping and just sprinkle the extra cheese on top.
- This recipe is adapted from Ina Garten’s cauliflower gratin.
Nutrition
Nutrition Information Disclaimer
The provided nutrition information is my best estimate and does not include any added sodium from seasoning to taste, any optional ingredients, and it does not take brands into account. I use an automatic API to calculate this information. Feel free to calculate it yourself using one of these tools:


Jennifer
Your recipes don’t fail!
I used two, 16 oz bags of frozen cauliflower because fresh was unavailable and everything turned out great. The inclusion of cheese in the crumb topping is a game-changer.
Thank you!
Elizabeth Lindemann
So glad you liked it!
wanda
Can the cauliflower gratin be made & cooked ahead and just reheated in the microwave. I would not be using bread crumbs. Thank you
Elizabeth Lindemann
If you’re not using bread crumbs, I think you should be fine to make it ahead and reheat in he microwave (or in the oven covered with foil)!
Ron Winchester
Very tasty and cheesy! The crunchy, cheesy, buttery breadcrumbs really make the dish. A little fussy with all of the cookware, and I added to that by preparing all quantities ahead of time. Still, clean-up wasn’t bad. Will definitely make this again.
Elizabeth Lindemann
So happy to hear you liked it! I agree about all the cookware- it’s the one con to the recipe (outweighed for me by all the cheesy pros) :-)