These mini blueberry scones are such a fun and delicious treat! If a blueberry muffin, a southern-style biscuit, and a bakery scone were able to somehow combine forces, this would be the result. These are buttery and soft, with pops of sweetness from the fresh blueberries (though you can use frozen if you want). And because they are small in size, this batch makes a ton (more than three dozen!) that you can easily stash in your freezer for when the mood strikes!

Fair warning: scones can be a bit finicky to make. The dough tends to be both dry and sticky at the same time and can be kind of hard to shape. But the good thing? This batch makes a TON (so your hard work will be rewarded with sooooo many mini scones!). And they’re kind of fun in a messy way!
And regardless of how the scones look in the end, these end up being so delicious. Similar to biscuits, you can gather any scraps that didn’t quite shape up well, reform them, and reshape them.
I love making a batch of these and keeping them in my freezer for when the mood for a blueberry scone strikes. Just a quick pop in the microwave and you can have a warm scone with your morning coffee. Yum.
One quick note: this recipe has been on Bowl of Delicious for a while but I’ve redone and rewritten it based on feedback. Many readers didn’t have success with the recipe. Turns out I FORGOT EGGS in the original ingredients list! Mom pandemic brain, anyone? Anyway, if you’ve come here before and tried to make this recipe without success, I hope you give it another try. And just to reiterate, I love getting feedback of all kinds from my readers, so if you ever have an issue with one of my recipes please don’t hesitate to reach out!
Ingredients and Substitutions
- Blueberries – I prefer using fresh, as frozen can give a purple color throughout since they are wetter/juicier, but frozen can be used if needed. You can use other berries in this recipe as well.
- All-purpose flour
- Baking Powder
- Salt
- Sugar
- Butter – I used salted butter, but you can use unsalted with additional added salt if you like.
- Lemon zest – this is optional, but lemon and blueberry flavors just go so well together! Adding the lemon zest gives these mini scones a little zing.
- Eggs
- Milk or half-and-half – heavy cream is a bit too heavy for these. You can use buttermilk, but if you do, swap out the baking powder for baking soda, as the buttermilk has an acidic ingredient which will activate the soda.
- Sugar for topping scones – this is optional, but gives the exterior a nice crunch. You can use white or turbinado (raw) sugar for this.
How to make Mini Blueberry Scones
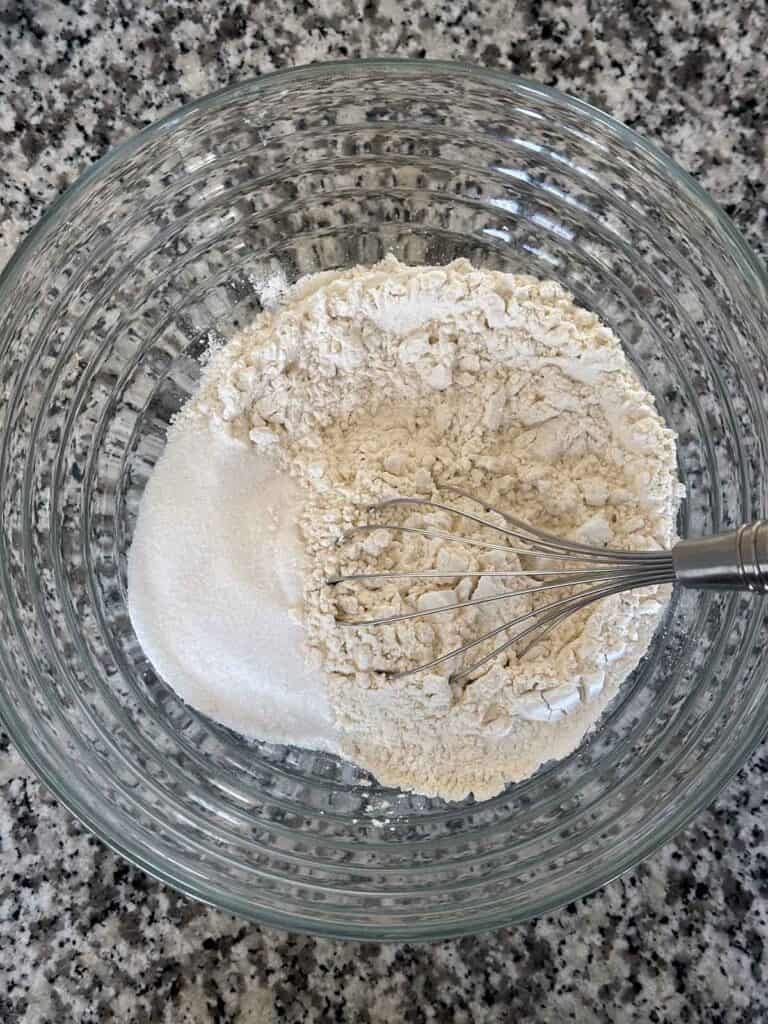
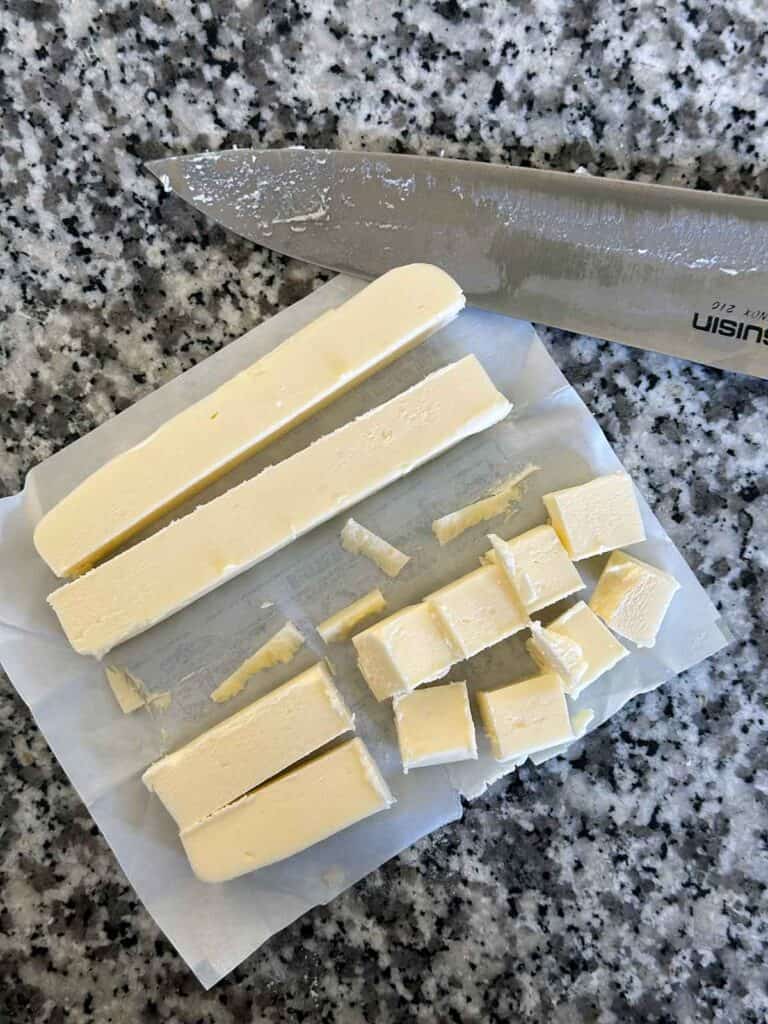
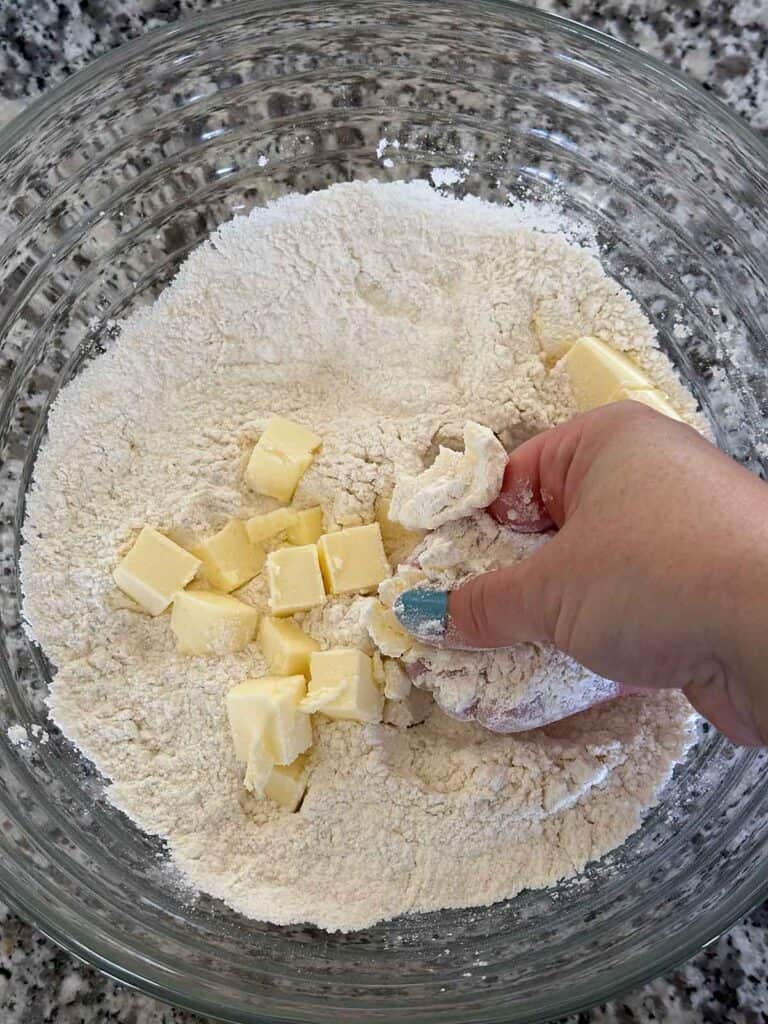
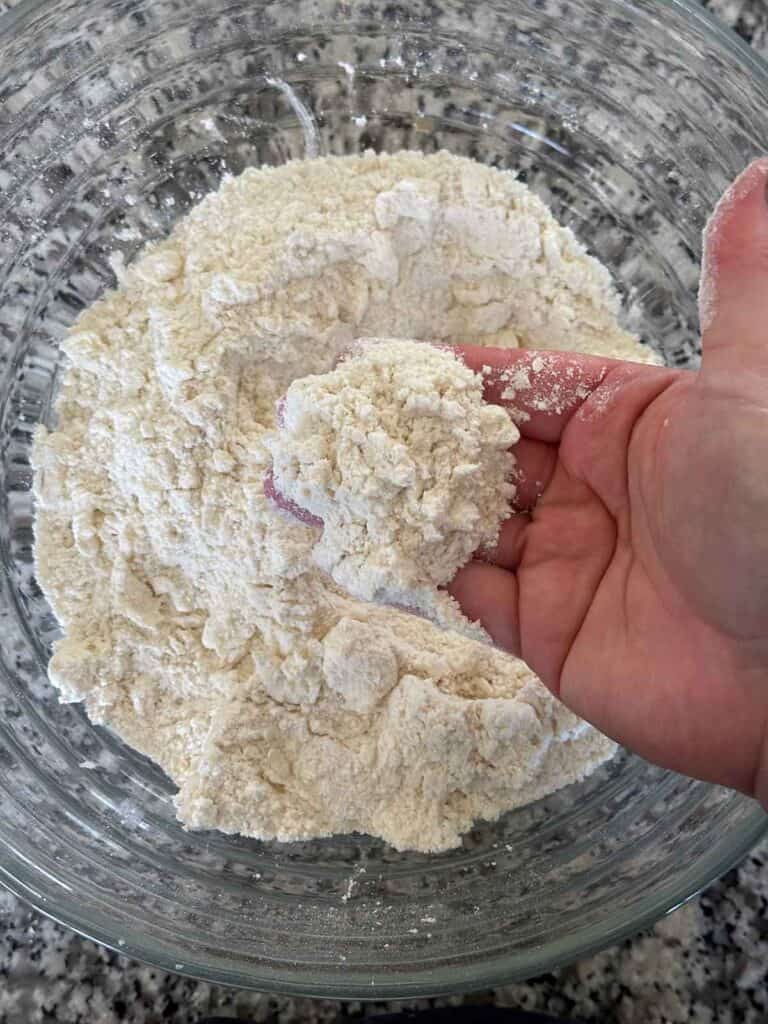
First, mix the dry ingredients (flour, baking powder, salt, and sugar) together in a large bowl. Cut cold butter into cubes. Then, using your hands, incorporate the cold butter into the flour mixture by smushing the cubes with the flour with your hands, until the texture is rather crumbly and you have butter pieces no larger than peas.
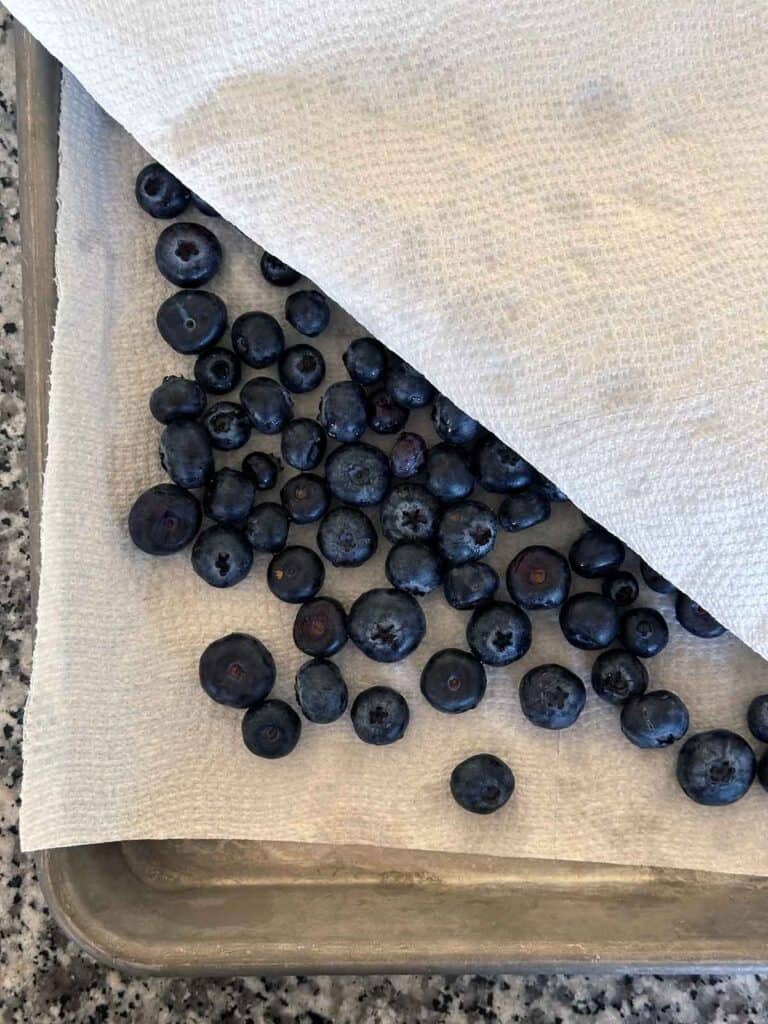
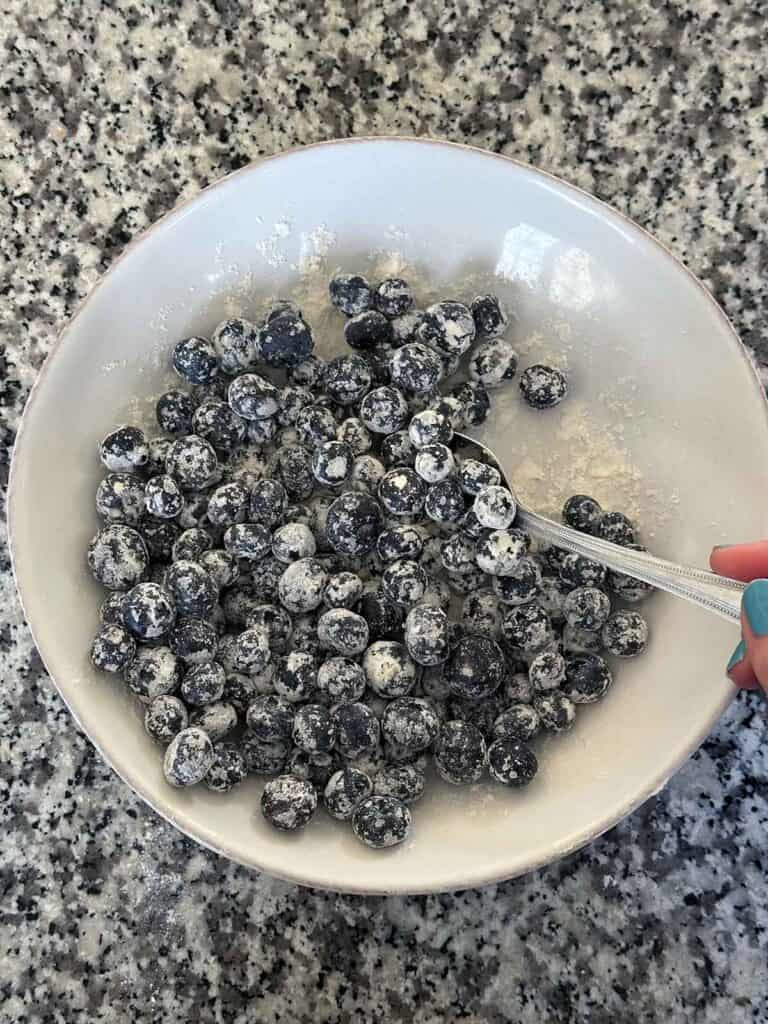
Now for the blueberries. You’ll want to start with pretty dry blueberries, so after washing them, pat the blueberries dry with a paper towel. Then toss them to coat in a little more flour. Finally, add the blueberries – and any extra flour – into the flour and butter mixture from before and mix together.
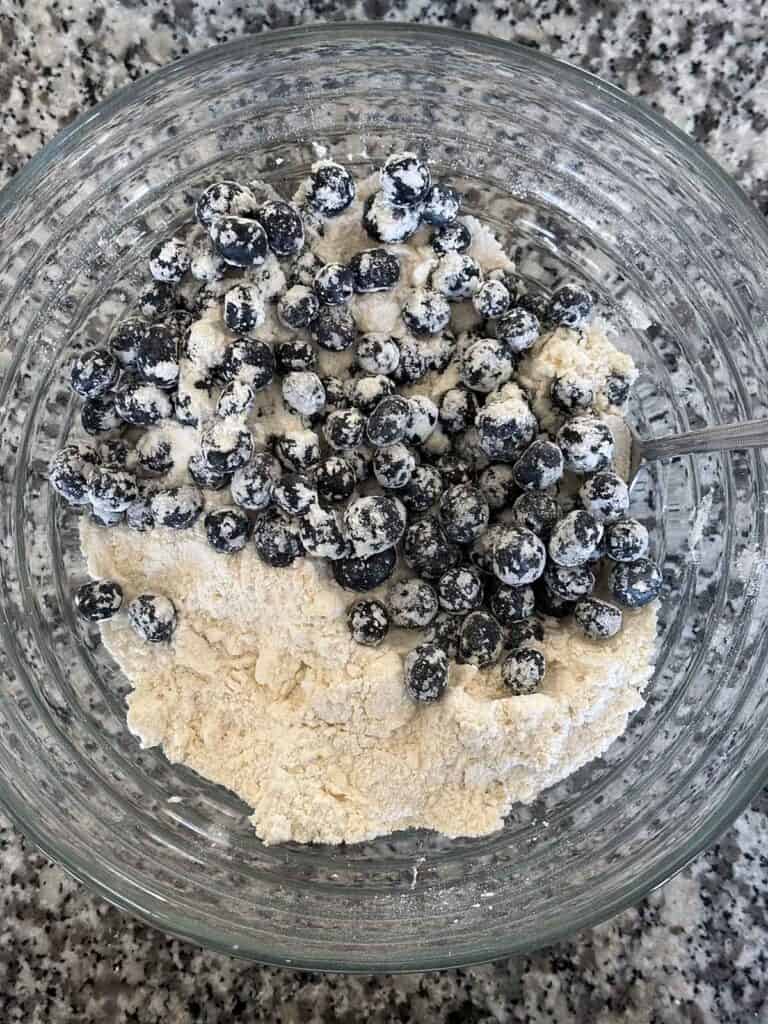
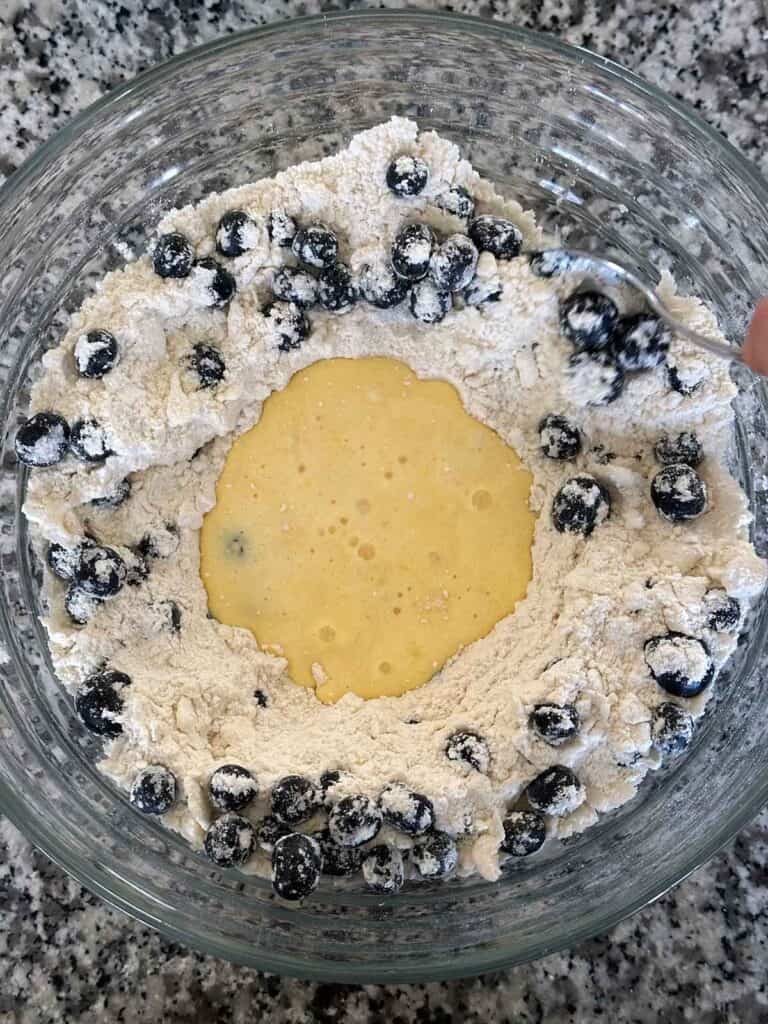
In a separate small bowl or measuring cup, beat the eggs with the milk, along with some lemon zest if you’re using it. Then, make a well in the center of the blueberry and flour mixture and pour the egg/milk mixture into the well. Mix it together gently until there is no dry flour left, taking care not to smush the blueberries. The dough should hold its shape well when smushed together, but not be so wet that it sticks to your hands (see photo for reference). If it’s too dry, you can add a little more milk as needed.
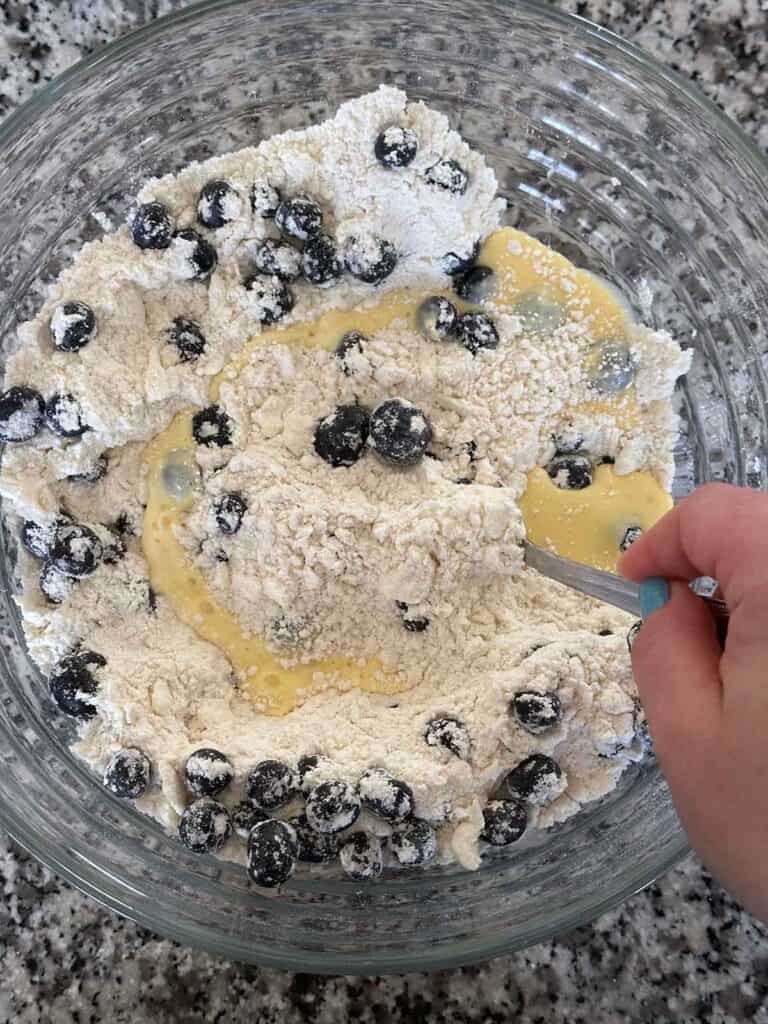
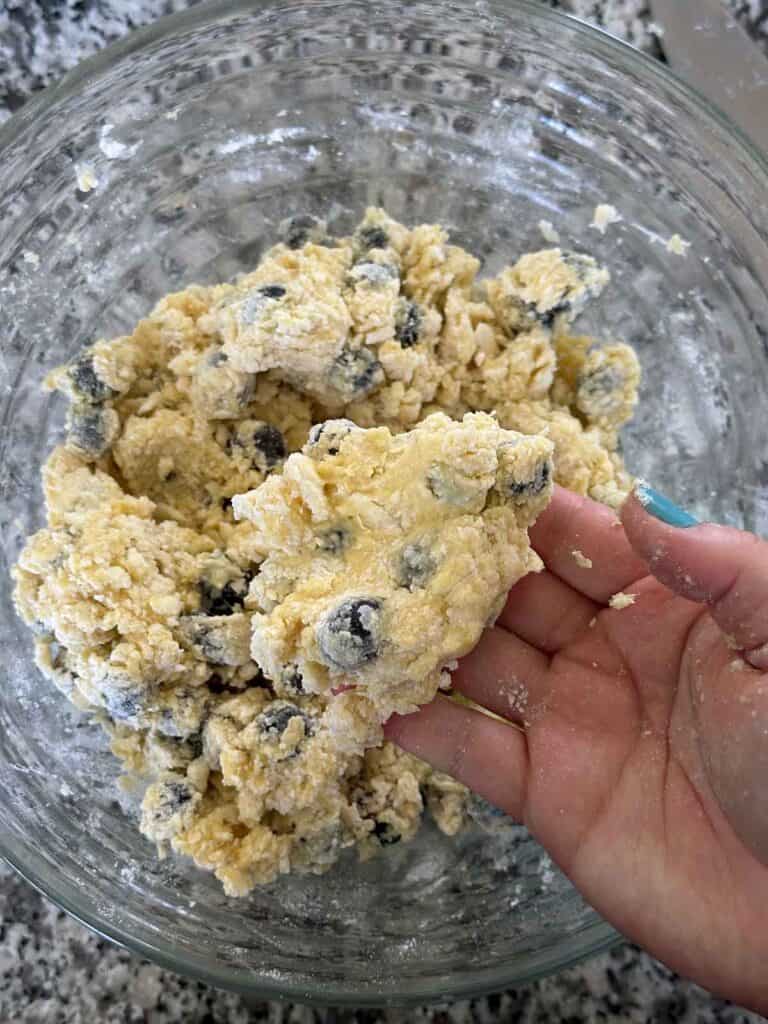
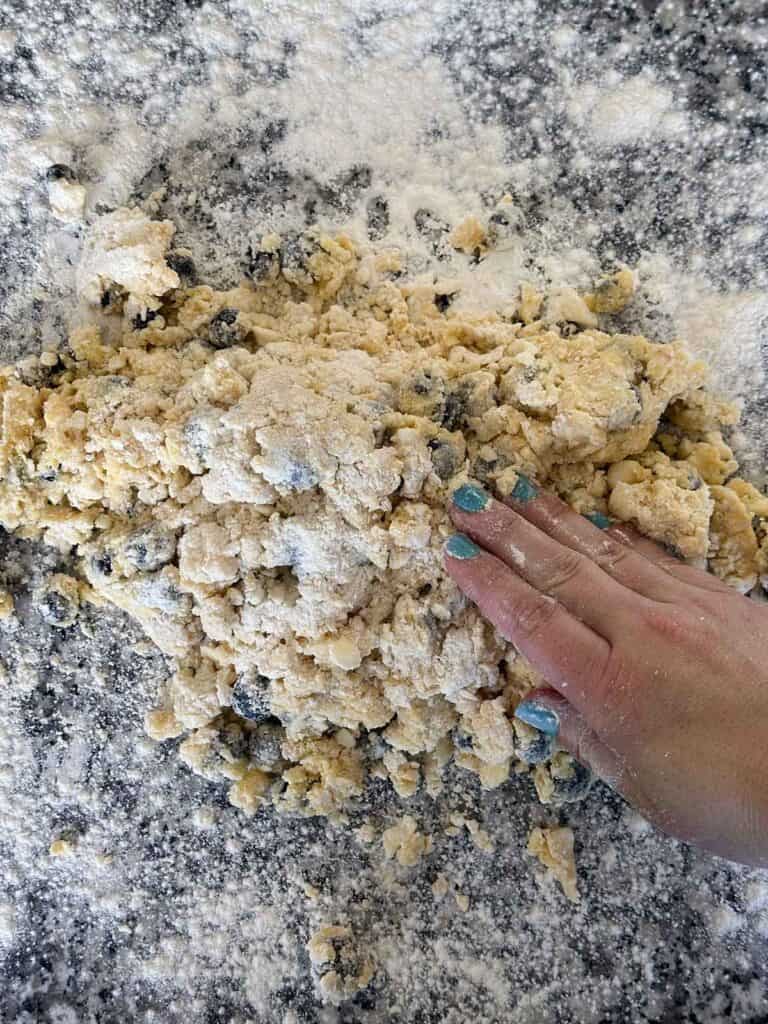
Now it’s time to shape the scones! Transfer the dough to a well-floured surface. It may be a bit crumbly – that’s OK. You’ll use your hands (or a roller) to press and shape the dough into a rectangle or square about a half-inch to three-quarters of an inch thick. Some blueberries may squish, but try to be gentle. Then, use a sharp knife or pizza cutter to cut small triangles.
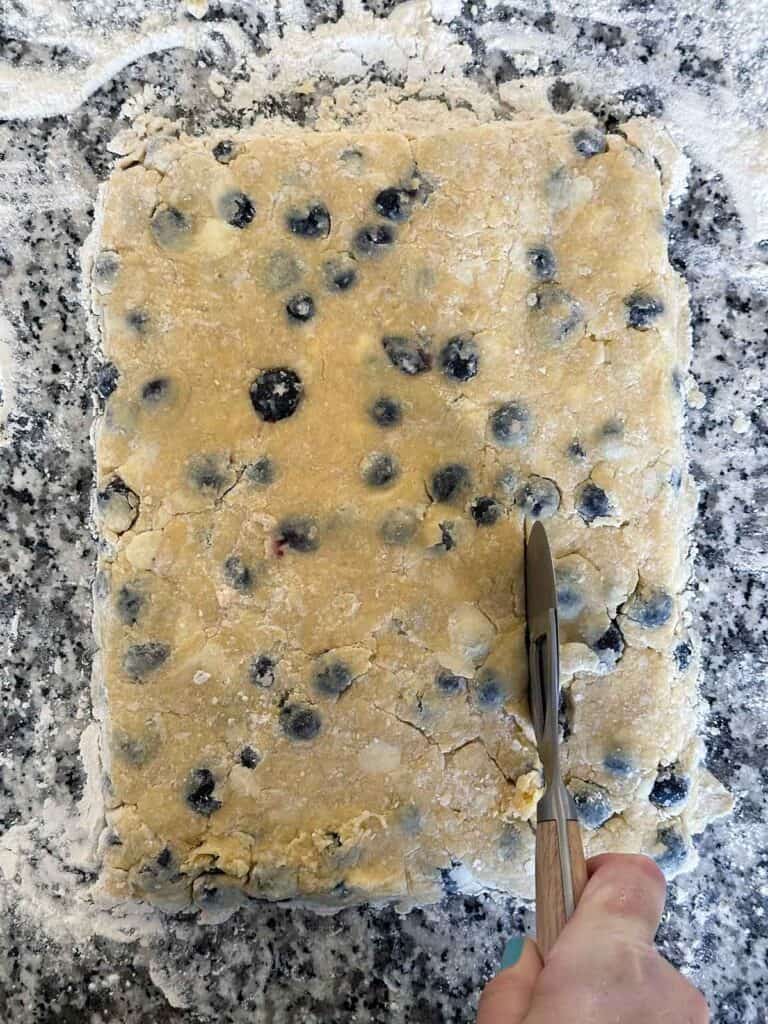
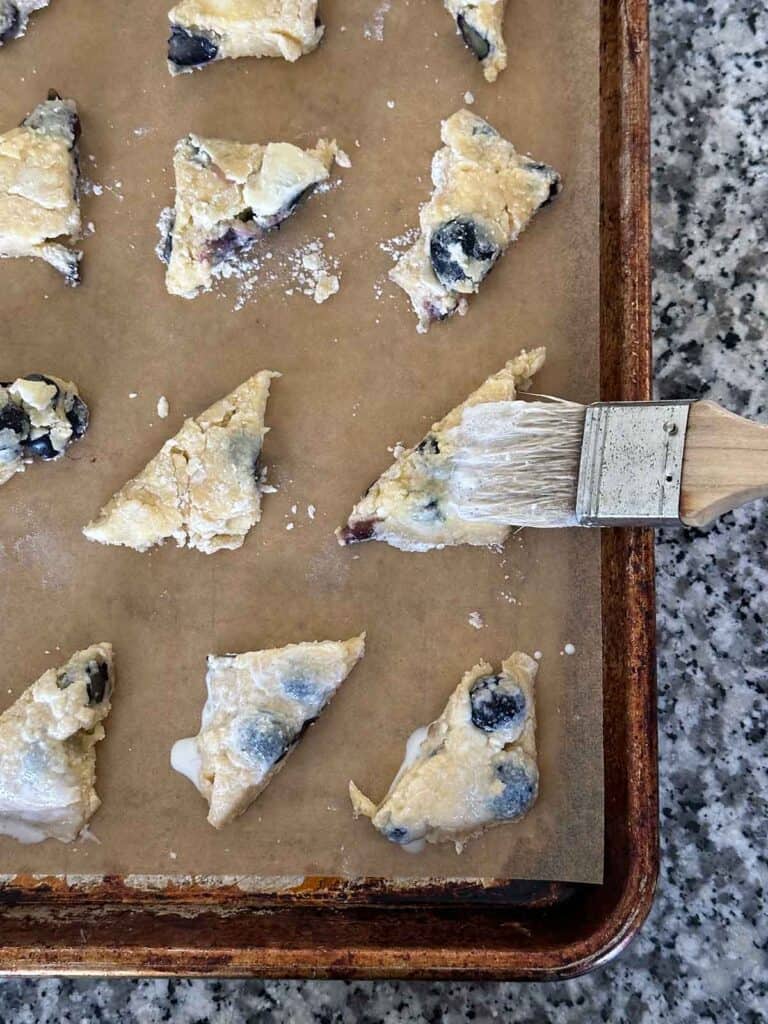
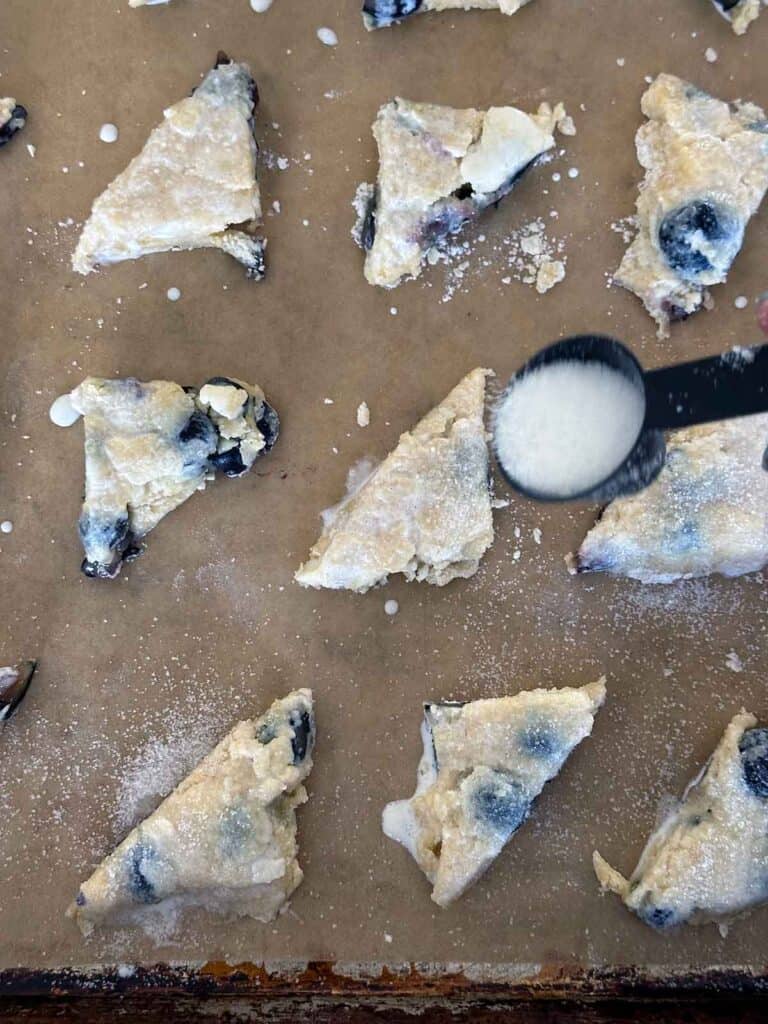
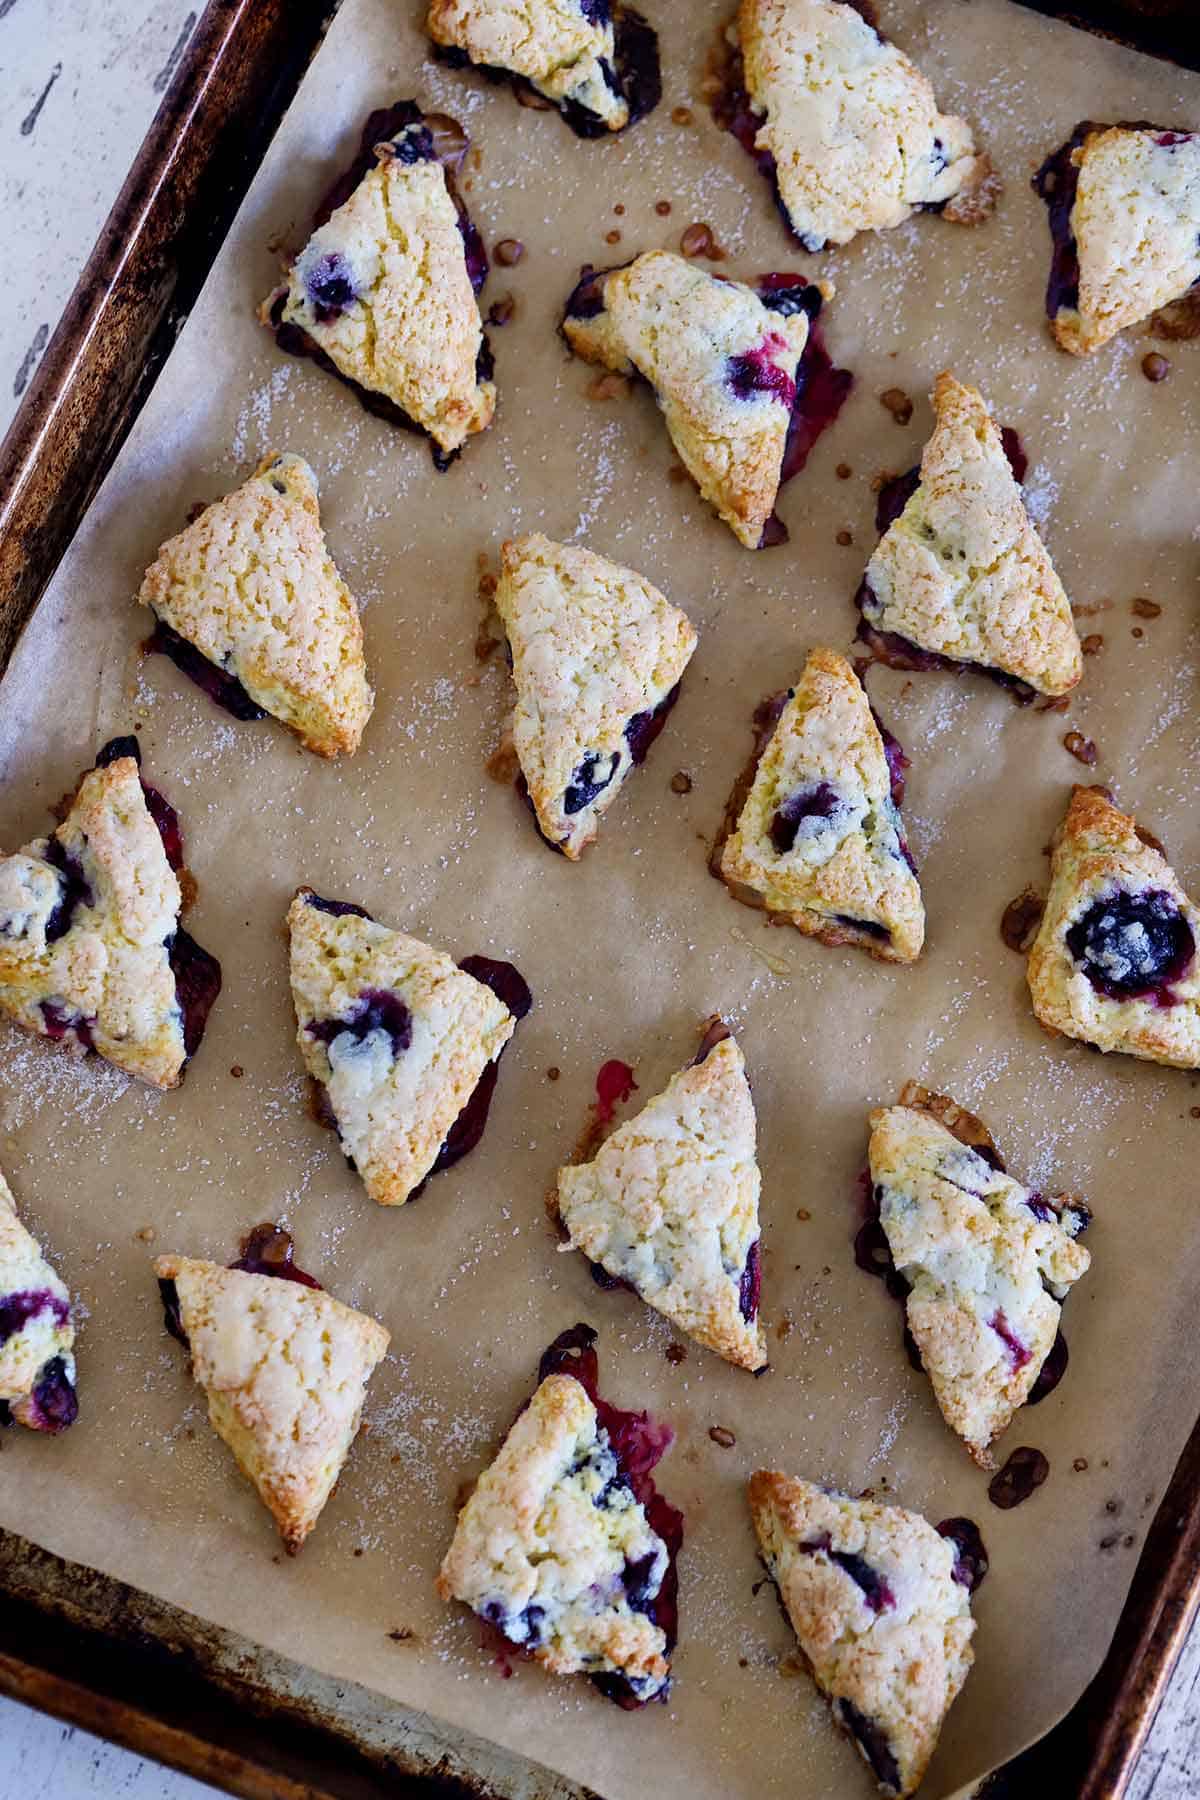
Now for the final step. Place the mini blueberry scones onto a parchment covered baking sheet (or two). Then, brush with some milk and, if you like, sprinkle some sugar on top (which will give it a crunchy crust). Bake, cool, and enjoy!
How to freeze mini blueberry scones
These scones freeze really well! I like to allow them to cool completely, then transfer them to a zip-top bag and store in the freezer for about three months. After than, they risk freezer burn. They never last that long in my house, though! Just pop a couple in the microwave for about 30 seconds and you’ll have a warm, fresh scone to enjoy with coffee or tea whenever the mood strikes.
Can I use buttermilk instead of milk in these scones?
Sure! But with one caveat – you should use baking soda instead of baking powder. Baking soda needs acidity to activate, and buttermilk is acidic. These Irish Soda Bread Scones use buttermilk in this way. I’m a huge fan of buttermilk powder, since it stays good in your pantry for far longer than fresh buttermilk.
Other baked treats!
If you liked these mini blueberry scones, be sure to try out some of these other baking recipes! You can find all of Bowl of Delicious’s Dessert and Baking Recipes Here.
Did you know commenting and rating recipes is one of the best ways you can support your favorite food bloggers? If you made this recipe or have a question, please click the stars below to comment and Rate this Recipe and/or share photos on social media using the hashtag #bowlofdelicious or tagging @bowlofdelicious!

Mini Blueberry Scones
Equipment
- Mixing spoon and whisk
- Sharp knife or rolling pizza cutter
Ingredients
- 2 ¾ cups all-purpose flour plus more for dusting work surface
- ⅓ cup sugar
- ¼ teaspoon fine grain salt (see notes if using unsalted butter)
- 1 tablespoon baking powder
- 8 tablespoons cold salted butter (one standard stick) cut into cubes about ½-inch in size, see notes for using unsalted
- zest of one lemon (optional)
- 2 large eggs
- ½ cup whole milk or half-and-half plus more if needed for dough and for brushing
- 1 ½ cups fresh blueberries (see notes for frozen)
- turbinado sugar or white sugar for sprinkling on top, optional
Instructions
- Preheat your oven to 400 degrees F and line two baking sheets with parchment paper.
- In a large bowl, add the 2 ¾ cups all-purpose flour, ⅓ cup sugar, ¼ teaspoon fine grain salt, and 1 tablespoon baking powder. Mix together using a whisk or a spoon.
- Add the 8 tablespoons cold salted butter cut into cubes. Use your hands to kind of "smush" the butter pieces into the flour, until texture is crumbly and butter pieces are no bigger than peas (it's OK if some pieces of butter are different sizes). Alternatively, you can use a pastry cutter to incorporate the cold cubed butter into the flour.
- In a small bowl, mix the 1 ½ cups fresh blueberries with 2 tablespoons of flour until all of them are well coated (try to make sure the blueberries are as dry as possible after washing them). Add the coated blueberries to the flour and butter mixture, including any extra flour lingering at the bottom of the bowl.
- In a small bowl or glass measuring cup, beat the 2 large eggs with the ½ cup whole milk or half-and-half, and the zest of one lemon, if using. Make a well in the center of the flour and blueberry mixer in the large bowl. Pour the egg and milk mixture into the well, and mix together gently until everything is just incorporated and there is no dry flour left, taking care not to over-mix and trying not to smush the blueberries in the process (though some inevitably will get smushed eventually!). If dough seems too dry, like it can't be shaped together at all, you can add a little more milk or half-and-half as needed.
- Turn dough out onto very well-floured surface and flatten carefully into a rectangle shape, using well-floured hands or a roller, until about ½ – ¾ – inch thick.
- Cut the dough into squares about two inches wide. Then, cut each square on the diagonal to cut each of those squares into two triangles (tip: a rolling pizza cutter makes easy work of this, cutting first into strips in one direction, then squares in the other direction, then on the diagonal to make triangles). For any pieces that are very misshapen or edges that didn't get cut into shapes, you can reform to cut into triangles.
- Place scones on a the parchment-covered baking sheets at least 1 inch apart.
- Brush the tops of each scone with milk or half-and-half. (Optional: at this point, you can also sprinkle with turbinado sugar or white sugar for a crunchy top.)
- Bake at 400 degrees F for approximately 18 minutes, or until golden brown. If baking both trays at once, rotate racks halfway through. Allow to cool for at least 10 minutes before serving.
Notes
- Freezer directions: These mini scones can be frozen in an airtight container or plastic bag for up to 6 months. To thaw, microwave for 20-30 seconds.
- Unsalted butter may be used; in this case, use ¾ teaspoon salt.
- You can make other shapes besides triangles if you like. Make 1″ squares instead of triangles. Another option is to use a simple cookie cutter, like a heart, or a circular biscuit cutter, to make circle shapes. I prefer triangles because you don’t have any “extra” dough that you have to either rework, which affects the texture, or discard.
- Using frozen blueberries is fine, but keep in mind because they are wetter/juicier, the scones may have an overall purple color. I recommend coating them in flour as directed while they are frozen, then proceeding with the recipe.
- You can also make this recipe into larger scones. Just cut the shapes larger and cook for about 22-25 minutes, spaced 2-3 inches apart.
- The amount of scones this recipe yields will depend on how big they are cut. I got about 40 out of one batch.
- If you use buttermilk instead of milk or half-and-half, swap out the baking powder for baking soda.
Nutrition
Nutrition Information Disclaimer
The provided nutrition information is my best estimate and does not include any added sodium from seasoning to taste, any optional ingredients, and it does not take brands into account. I use an automatic API to calculate this information. Feel free to calculate it yourself using one of these tools:
This post originally appeared on Bowl of Delicious on February 9, 2014. It has been republished with new photos, improved recipe instructions, and more pertinent information.


Zaza
Can i make the dough the day before, put in refrigerator and then bake them up fresh the day i am going to serve them?
Elizabeth
I’ve never tried it, but I wouldn’t do this. I think the dough may become tough and the scones wouldn’t be as fluffy. Instead, I’d bake the scones and take them out a few minutes early, just underdone, before they get golden brown. Then, put them back in the oven for a few minutes to warm them up and finish baking just before serving. Hope that helps!
Mike
Thoughts on using frozen blueberries? I know they bleed, but do you think they’d still get the job done?
Elizabeth
I’d say go for it! They may cause the scones to have a purple color because they are wetter than fresh, but will still taste great.
Lisa Lindemann
I LOVE scones….with a cup of hot Earl Grey tea, no less. Very “Downton Abbey.” :) And this recipe sounds, and looks, delicious! I figure any side effects from the refined flour and sugar will be off-set from the vitamin-packed fresh blueberries. I’m going with that. Yum! Lisa Lindemann
Elizabeth
Yum! I need to go buy some Earl Grey tea, it’s one of my favorites :-) When I wrote this post I thought a lot about the mini pumpkin scones you always have whenever we come and visit. So delicious! Maybe I will have to try to make a pumpkin version next…