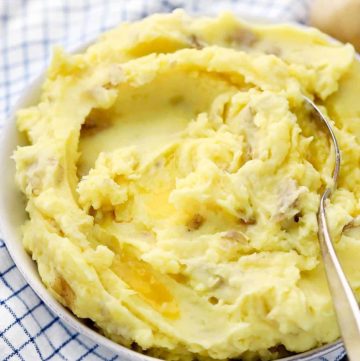
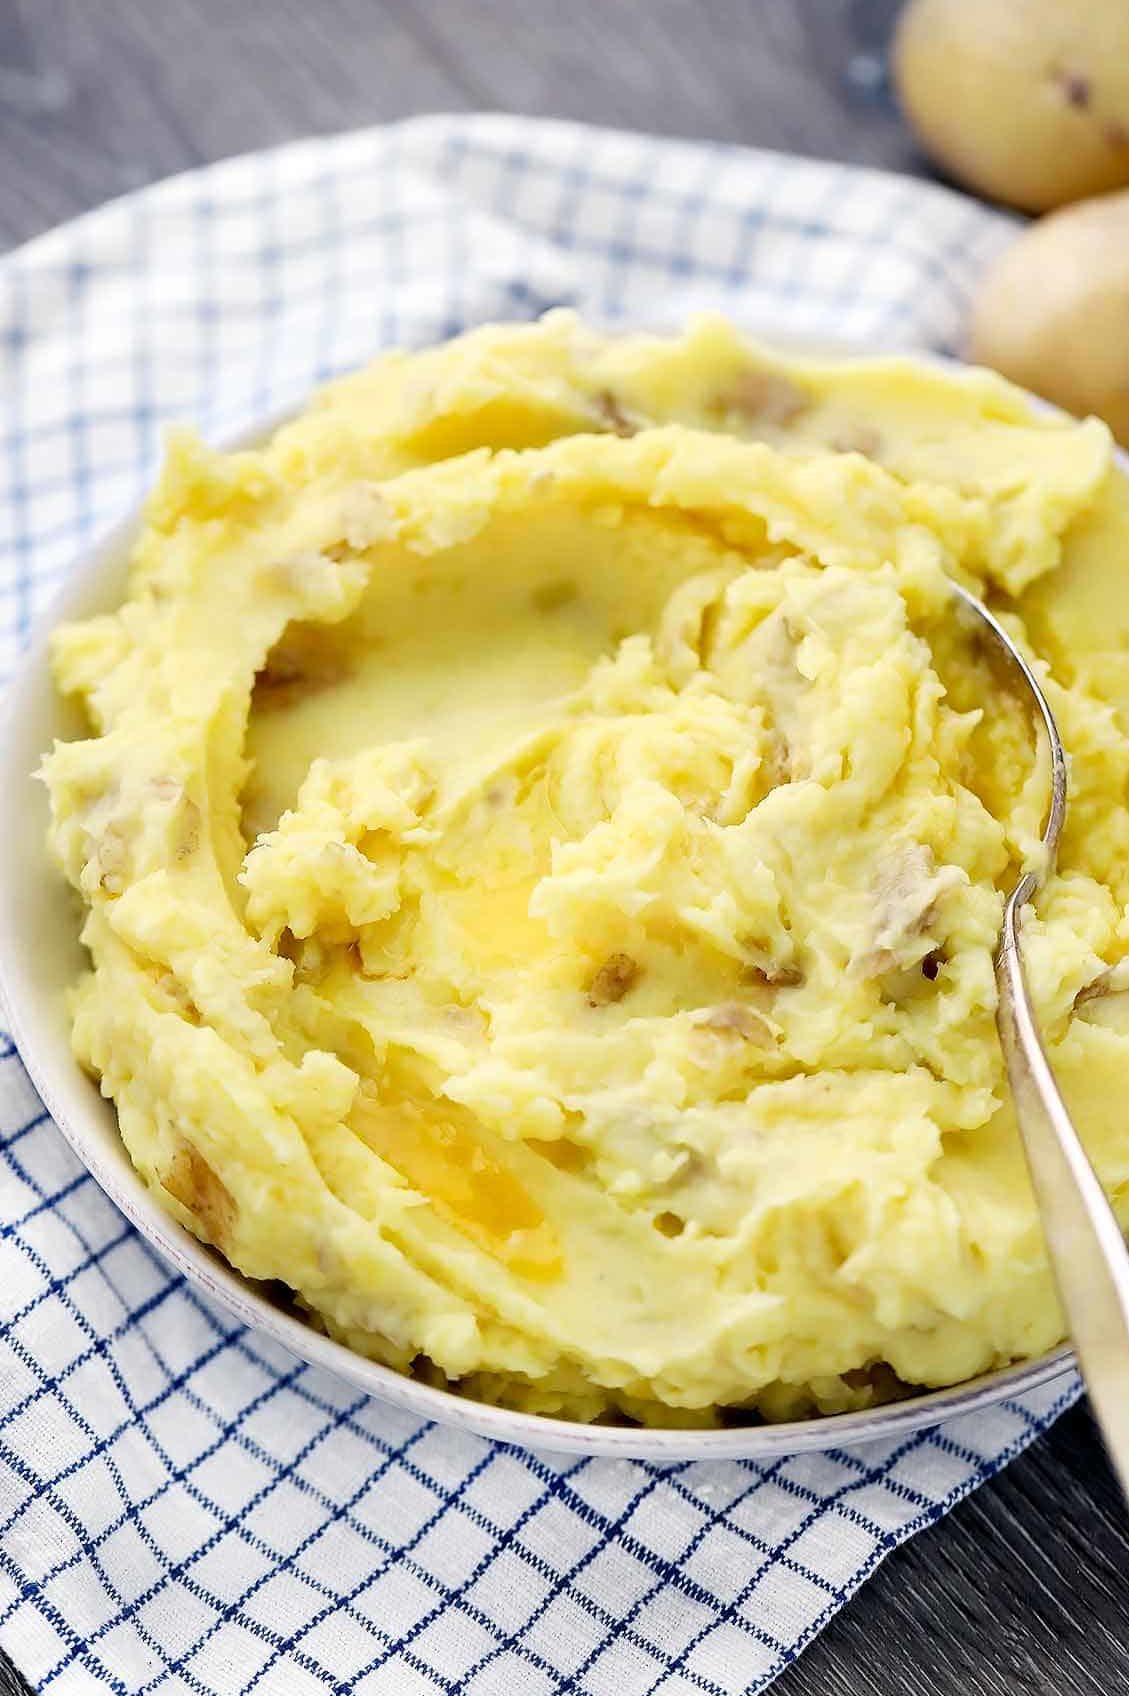
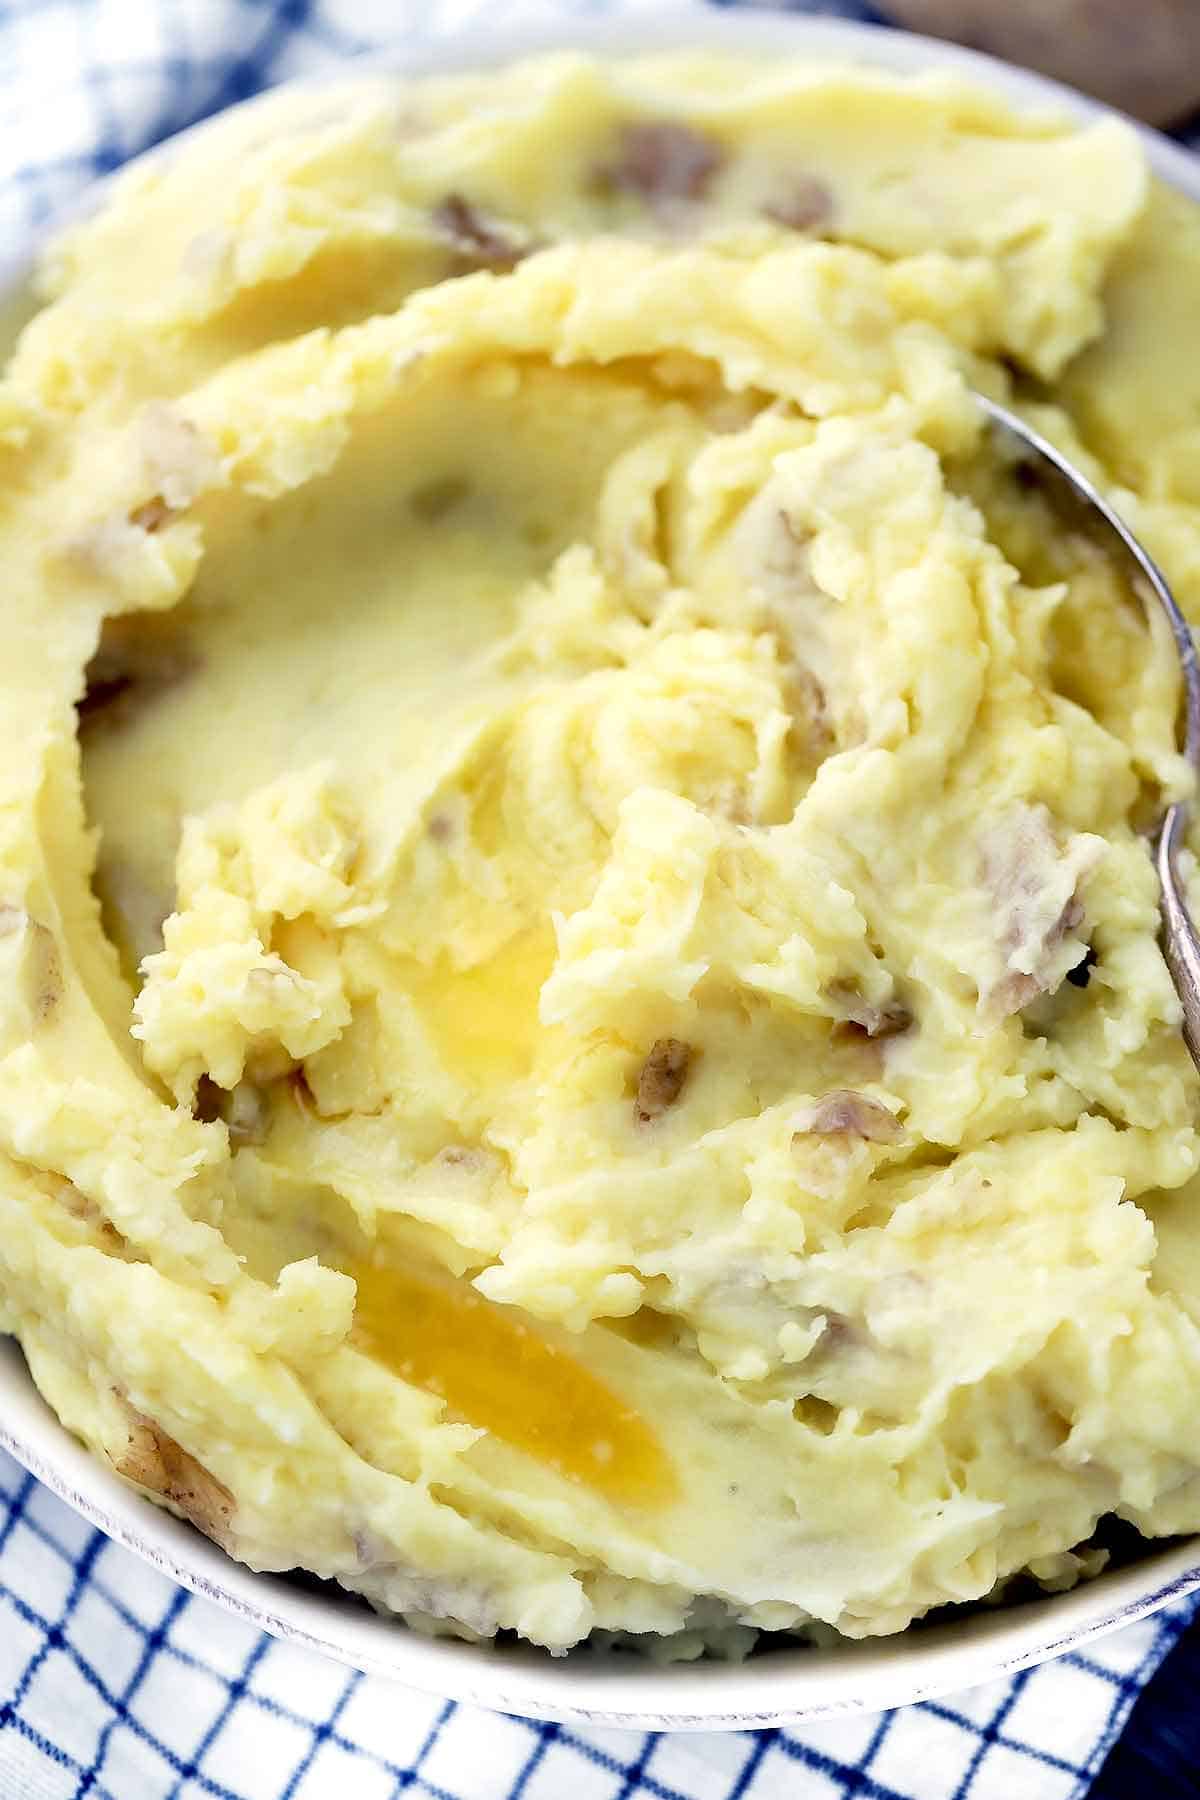
This easy recipe for simple Homemade Mashed Potatoes results in super creamy, buttery, fluffy perfection every time and uses only THREE ingredients and one pot! All you need are potatoes, milk, and butter, along with plenty of salt. Leaving the skin on the potatoes saves time AND adds nutrition to this classic, traditional side dish.
Whether you’re serving mashed potatoes at Thanksgiving dinner or making them on a casual weeknight, I’ve got you covered with this foolproof homemade mashed potato recipe.
Other recipes require adding sour cream or cream cheese to get a creamy consistency. But this recipe keeps things simple by using only the bare necessities for mashed potatoes: whole milk, salted butter, and yukon gold potatoes.
There are a few tricks to making the BEST mashed potatoes every time with these simple ingredients, and also some tricks that will save you time and energy, so it’s easy to whip these up in a jiffy.
What kind of potatoes are best for mashed potatoes?
I recommend using Yukon Gold potatoes for mashed potatoes.
Yukon Gold potatoes will consistently deliver the best creamy, buttery texture for mashed potatoes. And because they have thin, delicate skins, you don’t need to peel them.
I’ve also had good results with using red or white potatoes for mashed potatoes.
Russet potatoes are another good option, and will result in fluffier mashed potatoes. You also need to peel them, since russet peels are tough and thick. I recommend using russet potatoes for classic baked potatoes or twice baked potatoes, to make the most of their skin.
So… I don’t have to peel the potatoes?
NOPE! This recipe leaves the skin on the potatoes for a few reasons:
- It adds color and texture to the mashed potatoes.
- It adds nutrition to the mashed potatoes.
- Do you REALLY want to stand at your counter peeling potatoes? Didn’t think so.
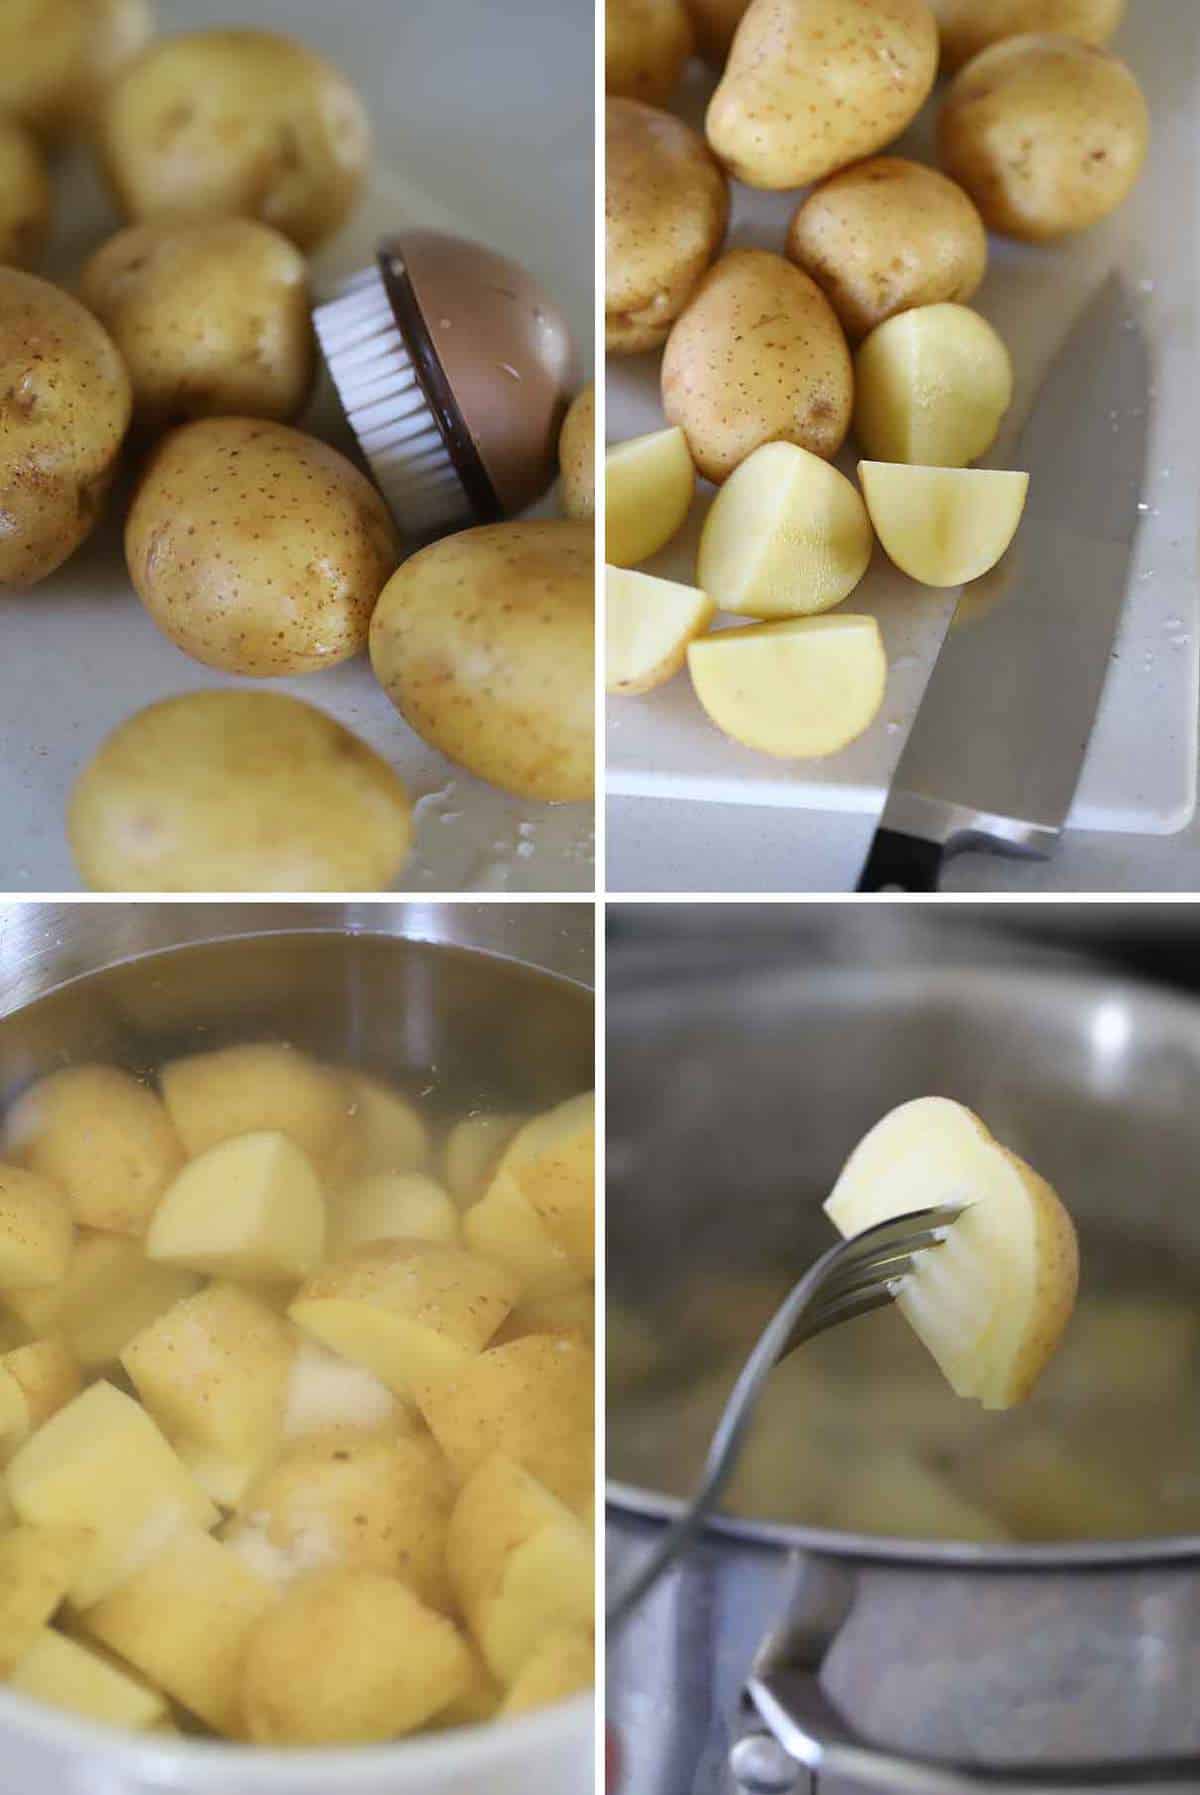
Yukon Gold potatoes have very delicate, thin skins, which are perfect for leaving in these mashed potatoes. Just make sure you wash the potatoes really well- I recommend using a vegetable brush for this.
Tips for making the BEST, EASIEST homemade mashed potatoes
You don’t need a bunch of extra ingredients or fancy equipment to make the best mashed potatoes. Just follow these tips and tricks for making the most out of such simple ingredients for the most delicious, easy to make mashed potatoes ever!
- HEAVILY salt the water. I added about 2 heaping tablespoons of kosher salt to the water I used to boil the potatoes. This helps season the potatoes as they cook.
- Start the potatoes in cold water. Then, bring them to a boil. This ensures that they cook evenly through. If you start the potatoes in boiling water, they cook quickly on the outside and slower on the inside, causing some parts to be too firm and some parts to be too mushy/waterlogged. It also means you don’t have to risk burning yourself with splashes of boiling water as you add the potatoes!
- Add the potatoes to the cold water as you cut them. This will ensure they don’t oxidize/turn brown (kind of like apples or avocados). You can also store them in your fridge submerged in the pot of water for a couple days, to prep ahead of time.
- Use SALTED butter and WHOLE milk. Potatoes need a lot of salt, and the fat from the whole milk helps enhance the smooth, creamy texture.
- Use a potato masher. You may be thinking… um, duh? But other recipes recommend using an electric hand mixer, or a blender, or even a food processor to mash the potatoes. Not me. I prefer keeping things simple. A potato masher is easier to wash than other appliances. Also, if you process potatoes too much, they can become gluey and dense. A potato masher creates the perfect rustic texture, puts you in control, and allows the potato goodness to shine through.
- Add more salt, if you need to! Depending on how salty the water and butter are, you may or may not need to add even more salt. Be not afraid. Potatoes are super bland and need a TON of seasoning.
Do I need to melt the butter and warm up the milk?
NO! Don’t bother melting the butter or warming up the milk. There, I said it.
Blasphemy, you say? Feel free to heat them up if you want!
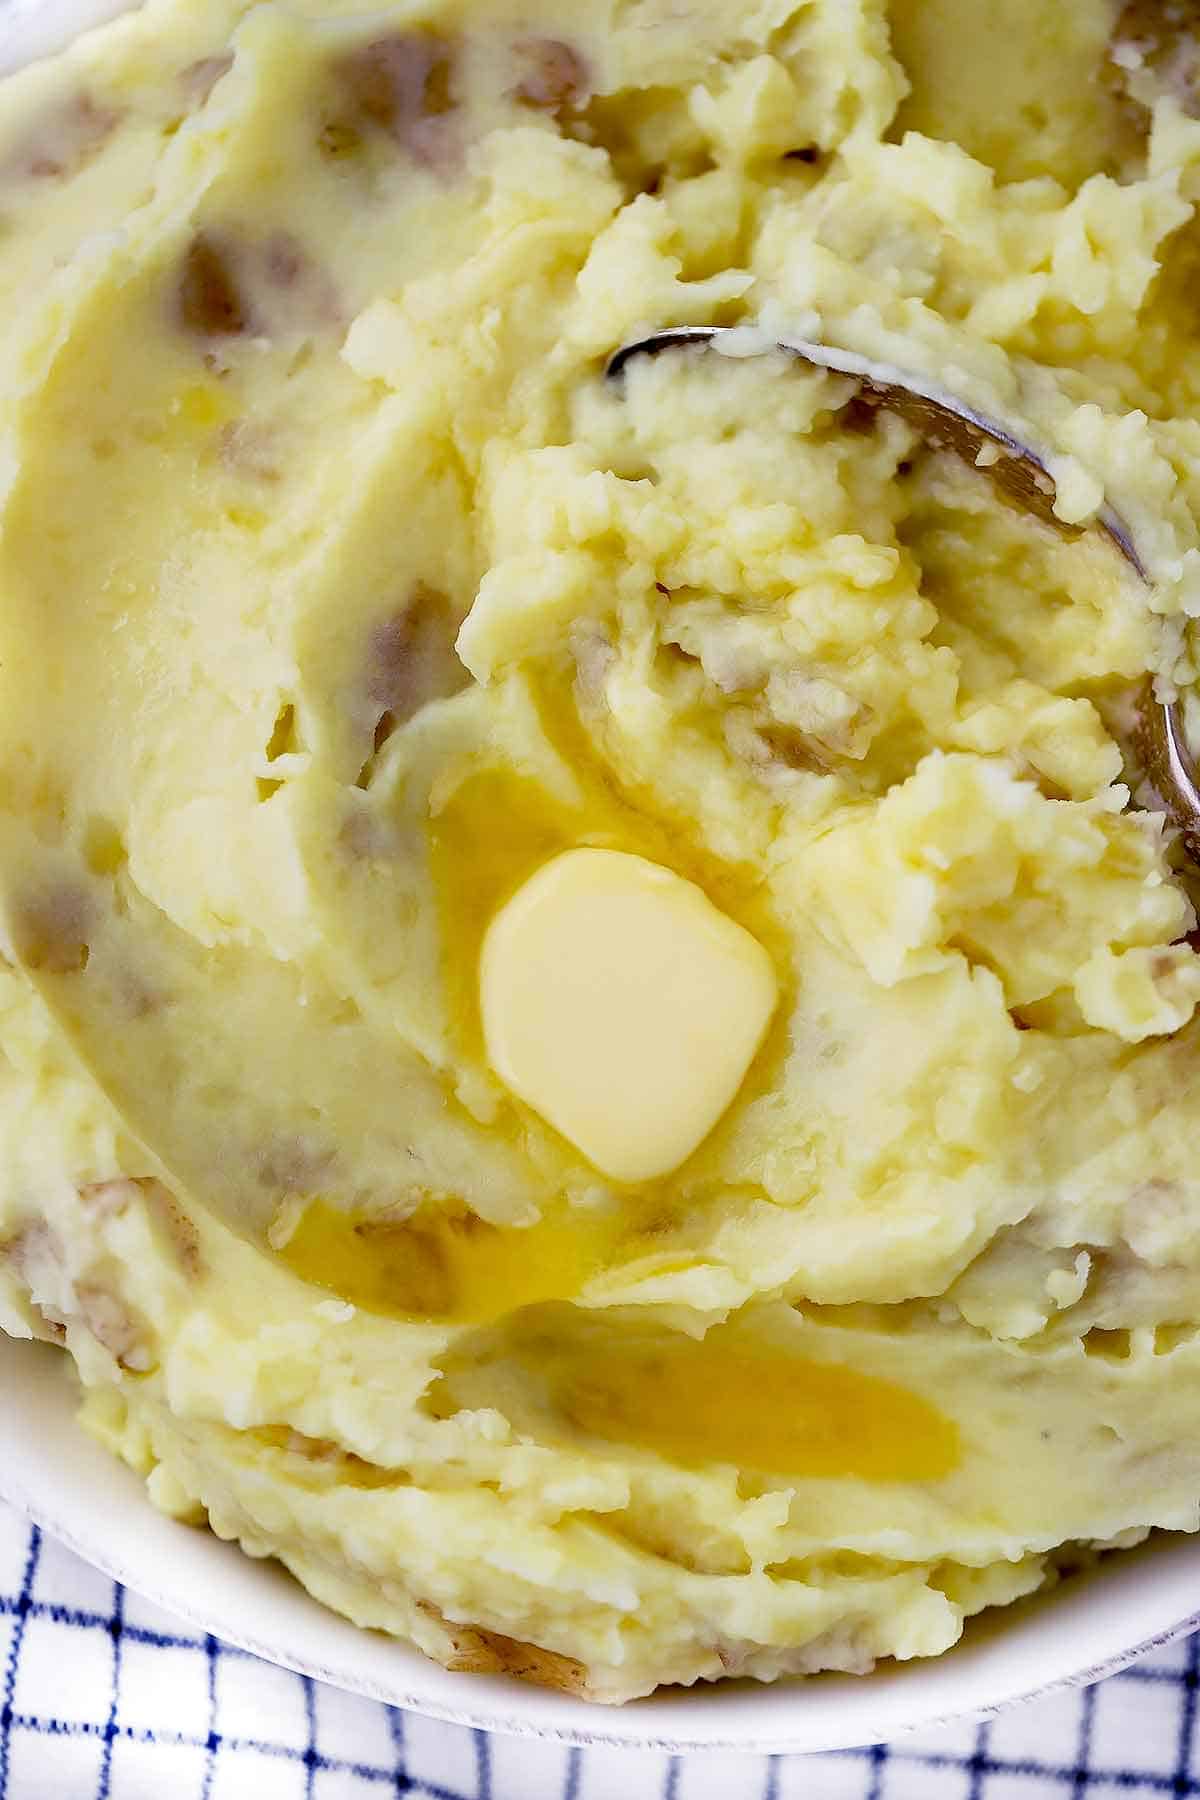
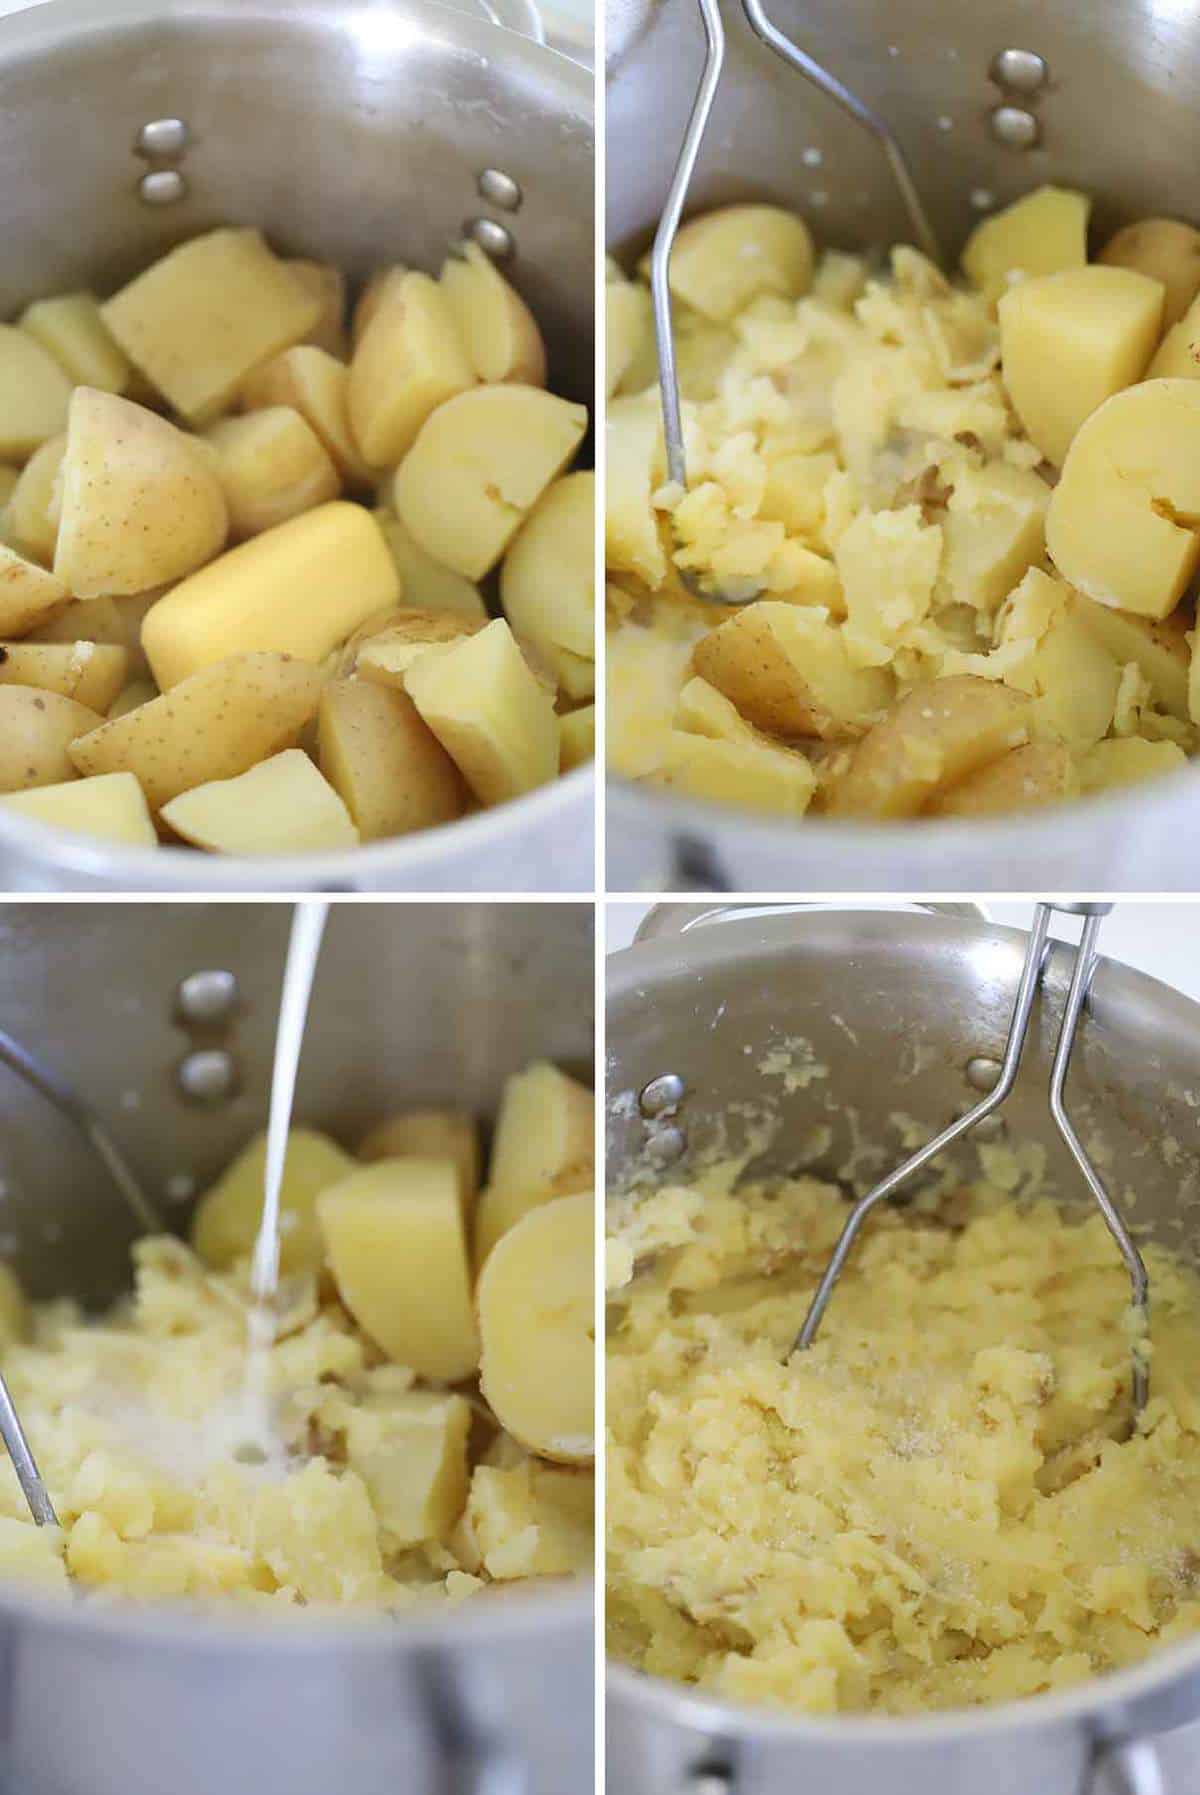
But I have found that pre-heating the milk or melting the butter does not make any difference in the finished product. I just add the butter, still in stick-form, cold from the fridge, to the potatoes, and let their heat melt it. Then, I add cold whole milk to the pot and mash it up. Fewer dishes to wash!
How long to boil the potatoes
This will depend on how small you cut the pieces. I recommend cutting the potatoes into roughly 2 inch pieces, which will take about 30 minutes to boil.
You’ll know they’re done when you can pierce them easily, through the center of each piece, with a fork.
Variations
I love this simple mashed potato recipe for… well, it’s simplicity! That said, I’m not against dressing these homemade mashed potatoes up. Here are some suggestions.
- For a healthier version, try using olive oil instead of butter. You can even use Greek Yogurt instead of (or in addition to) milk!
- For low-carb mashed “potatoes,” try mashed cauliflower instead. Or a mixture of mashed potatoes and cauliflower.
- Add herbs and garlic. For this, I do recommend melting the butter, then stirring minced garlic and fresh herbs into the melted butter. The garlic and herb flavor will be infused throughout.
- Add sour cream, cream cheese, or shredded cheese. If you want extra super duper creaminess and decadence. A little heavy cream wouldn’t hurt, either :-)
- Make paleo/whole30/dairy free mashed potatoes by using chicken stock instead of milk, and ghee instead of butter.
- Make it spicy by adding pickled or sautéed fresh jalapeño peppers.
What to serve with homemade mashed potatoes
Besides the obvious (Mashed Potatoes and Gravy, like classic turkey gravy or mushroom gravy), here are some great main dishes that go well with this classic side dish.
- Salisbury Steak
- Whole Roast Chicken
- Pot Roast
- Meatloaf
- Pan-Seared Steak with Brown Butter Sauce
- Juicy Slow Cooker Boneless Turkey Breast
What to do with leftover mashed potatoes
Mashed potatoes are best served fresh, but are also great reheated. I like to serve them with a fried egg on top and a runny yolk. You can stir them into soup as a thickener. You can also make Shepherd’s Pie or Mashed Potato Cakes with leftover mashed potatoes!
Did you make this Homemade Mashed Potato recipe? Please click the stars below to comment and Rate this Recipe
Homemade Mashed Potatoes
Equipment
- Potato Masher
Ingredients
- 3 lbs. Yukon Gold Potatoes
- 6 tablespoons salted butter plus more for serving
- 1 cup whole milk
- kosher salt
Instructions
- Fill a large pot with cold water about halfway full. Add 2 tablespoons kosher salt to the water. Stir until dissolved.
- Wash the potatoes well with a vegetable brush (do not peel). Cut into roughly 2-inch pieces, placing the pieces into the pot of cold water as you go.
- Bring the pot to a boil over high heat. Then, turn the heat to low and simmer for about 30 minutes, or until potatoes are easily pierced with a fork.
- Drain the potatoes in a colander, or by holding the lid carefully over the pot at an angle to pour the water out while keeping the potatoes in the pot.
- Add the salted butter (6 tablespoons) to the potatoes. Place a few of the potatoes over the butter. Cover the pot, so the heat stays in and melts the butter. Allow to sit until the butter is very soft or all the way melted (about 3 minutes).
- Use a potato masher to break up the potatoes a bit and make sure the butter is evenly dispersed. Add the milk and continue to mash until desired consistency is reached and everything is mixed thoroughly. Season to taste with salt (and pepper, if you want) and stir/mash to distribute the seasonings.
- Serve immediately for best results, with more butter if desired.
Notes
- Yukon gold potatoes yield the most buttery, creamy consistency. That said, I've used red and white potatoes with great results too. You can also use russet potatoes, but I recommend peeling them because their skins are a bit thicker and more bitter.
- To prep ahead of time, cut the potatoes and place them in the pot of cold water. Then, store the pot in your fridge for up to 2 days. When you're ready to cook, just put the pot directly on the stove and go from there!
- The provided nutrition information does not include any added sodium from seasoning to taste, any optional ingredients, and it does not take brands into account. Feel free to calculate it yourself using this calculator or by adding the recipe to Yummly.
Nutrition
Nutrition Information Disclaimer
The provided nutrition information is my best estimate and does not include any added sodium from seasoning to taste, any optional ingredients, and it does not take brands into account. I use an automatic API to calculate this information. Feel free to calculate it yourself using one of these tools:


Leave a Reply