Consider this a sign: it’s time to make a big batch of freezer burritos with beans, rice, and cheese! Just pop these make-ahead burritos into the microwave for a fast, hearty, and healthy lunch (that just happens to be vegetarian and packed with plant-based protein, if that’s your thing!). They are CHEAP to make, EASY to assemble, and they taste amazing. It’s easy to adapt these to be vegan, or even add other things to them like shredded chicken.
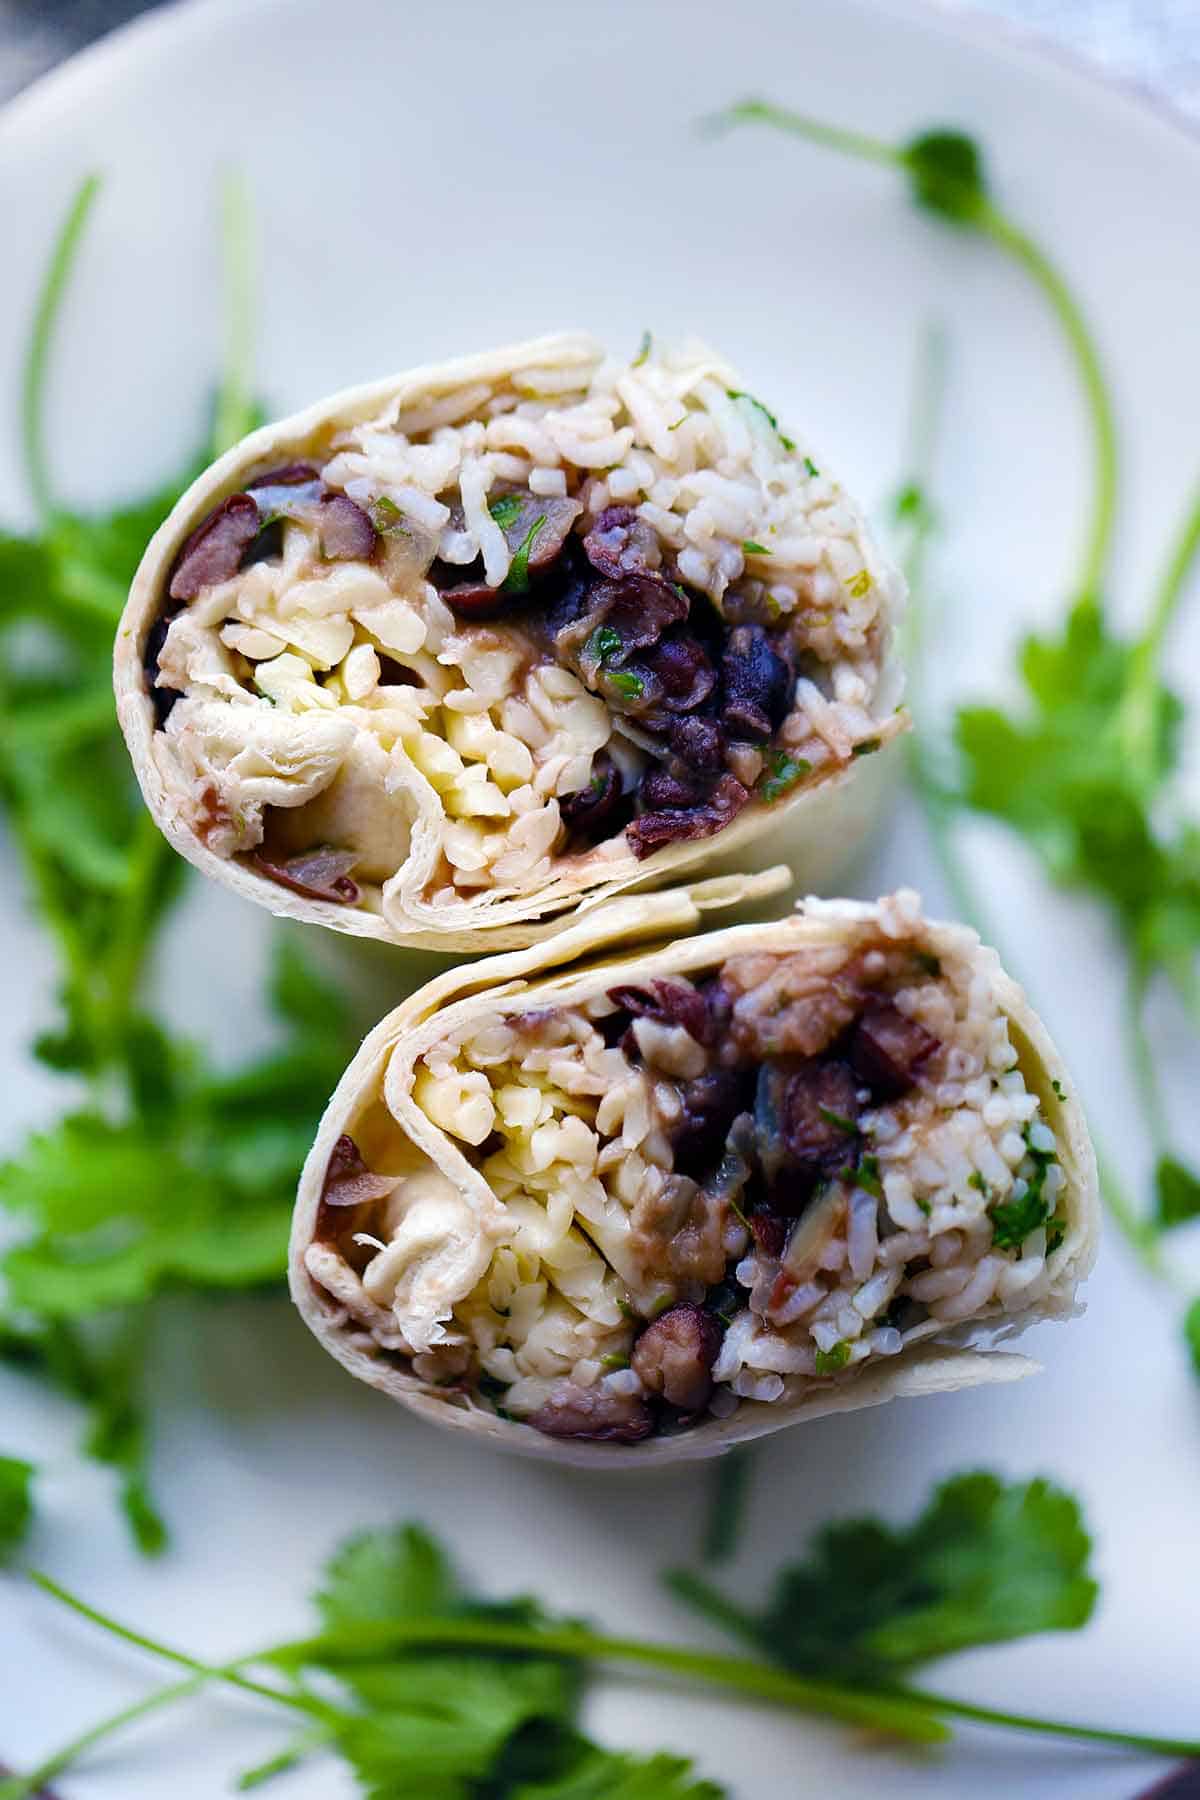
These freezer burritos are super simple, packed with cooked rice, black beans, and shredded cheese. I always use my recipe for black beans and rice for the base of this. I’ll use the whole batch – or any leftovers I have – to make into these burritos and my future self is always VERY thankful when I realize I have meals ready to go in the freezer!
What kinds of beans, rice, and cheese, or other ingredients, can I add to freezer burritos?
You can really use any kind of cooked rice you want – plain, cilantro lime brown rice, Mexican rice, whatever! And any favorite recipe for black beans you want – even plain black beans out of the can will work, but I like a little flavor in mine. Pinto beans, or refried beans, or even baked beans with chorizo will also work great here.
And for the cheese – guess what? Again, any kind will really work! It’s a great way to use up what you have in the fridge. I always prefer Monterey Jack cheese because it melts so nicely. But cheddar, mozzarella, a mix of shredded Mexican-style cheeses, or any other kind of melty cheese will be just fine. And you can easily use a plant-based cheese substitute for a dairy-free/vegan version (or just omit it!).
As for other ingredients? Go ahead and throw that leftover Mexican shredded chicken, carnitas or pulled pork, or chopped up steak into the burritos. Sautéed peppers and onions, pickled jalapeños, or leftover Mexican roasted zucchini will all be great additions.
I hope you are getting the impression that these freezer burritos are INCREDIBLY versatile and can be made with what you have on hand. Please consider this a base recipe for you to enjoy as is, or put your own spin on!
Ingredients needed for freezer burritos
- Tortillas – I really like the burrito-sized tortillas labeled as “super soft.” It makes them easy to roll. Feel free to use what you want – a low carb, gluten-free, whole wheat, or other size will be fine. Keep in mind – a smaller tortilla will yield more burritos and take a shorter time to microwave, but a bigger one will be heartier. A pop in the microwave can help them be more malleable.
- Black beans – I always use my recipe for black beans for this, but any kind will do, or drained and rinsed plain canned black beans are fine as well.
- Cooked rice – Again, any kind will do. I like using cilantro lime rice. Pre-cooked frozen rice will be fine as a shortcut!
- Cheese – I prefer shredded Monterey Jack cheese because it melts well. Any melty shredded cheese will work, or a vegan/dairy-free substitute. It can be omitted if you like.
- Other optional ingredients – sautéed veggies, pickled jalapeños, leftover shredded or chopped meat, etc.
How to make freezer burritos
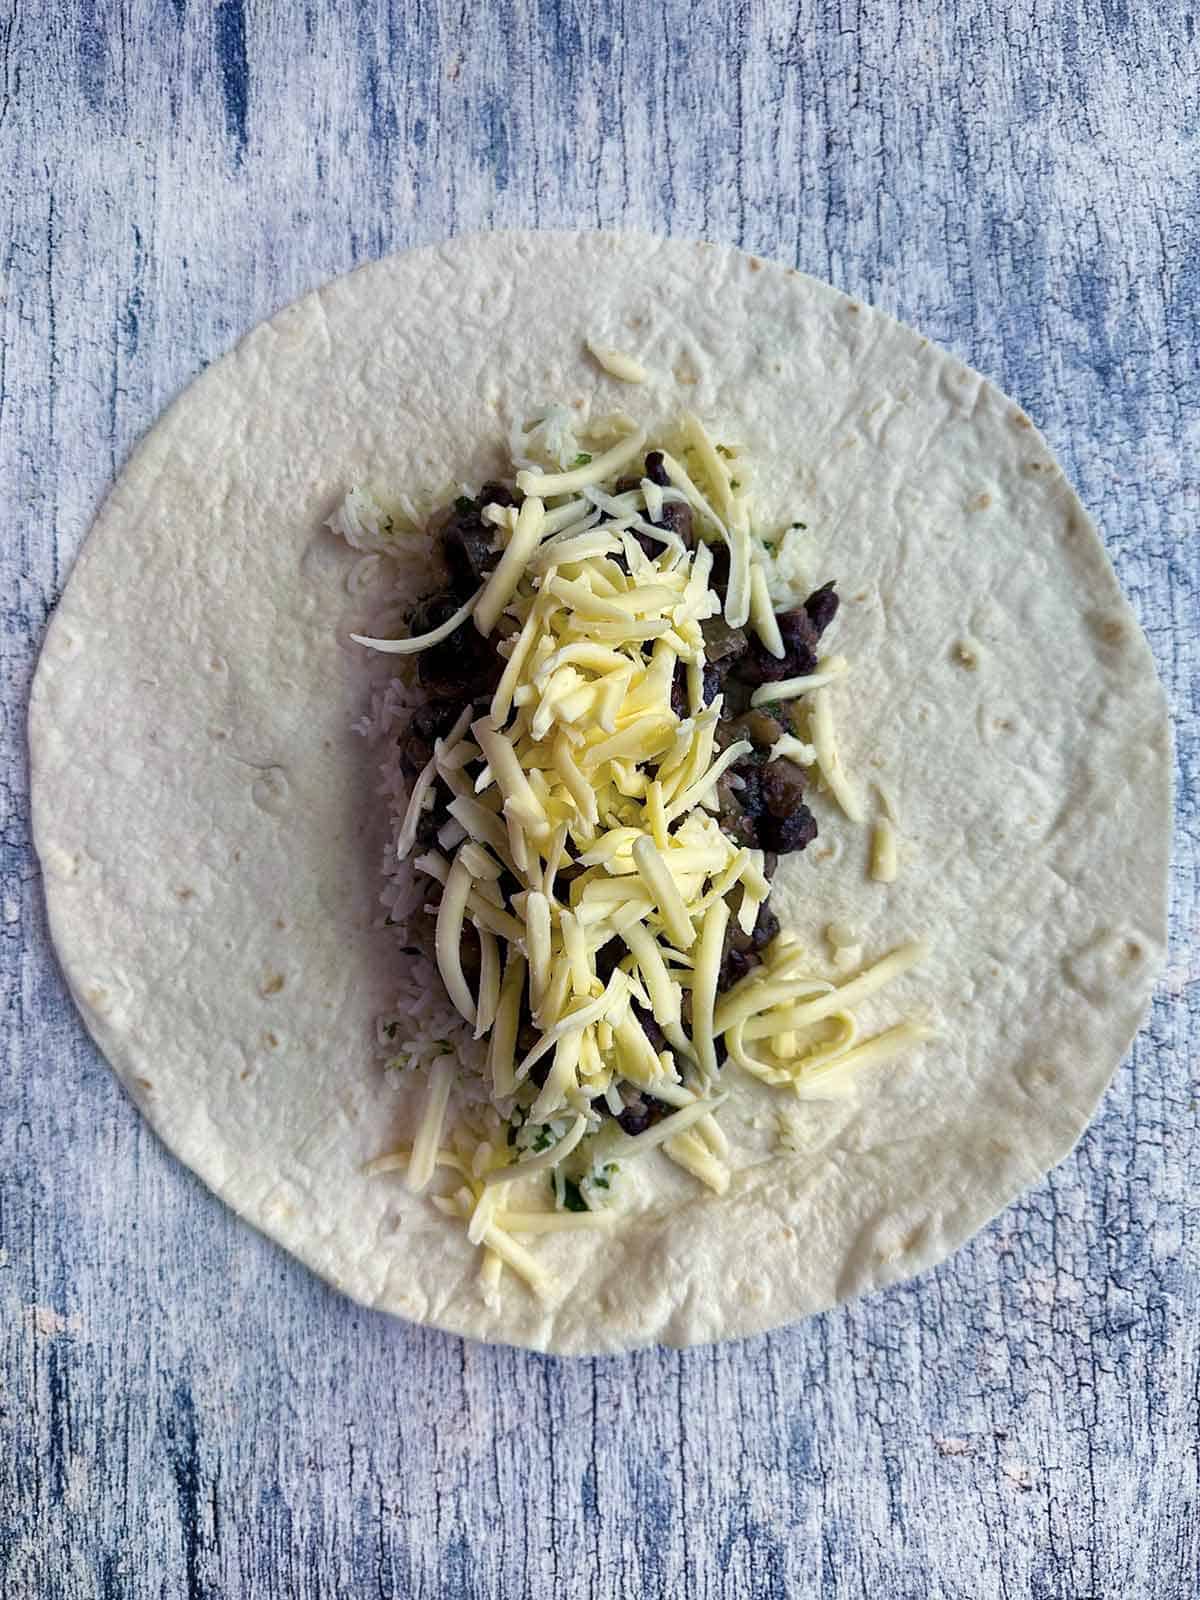
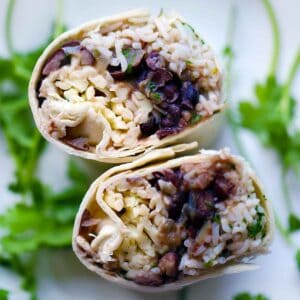
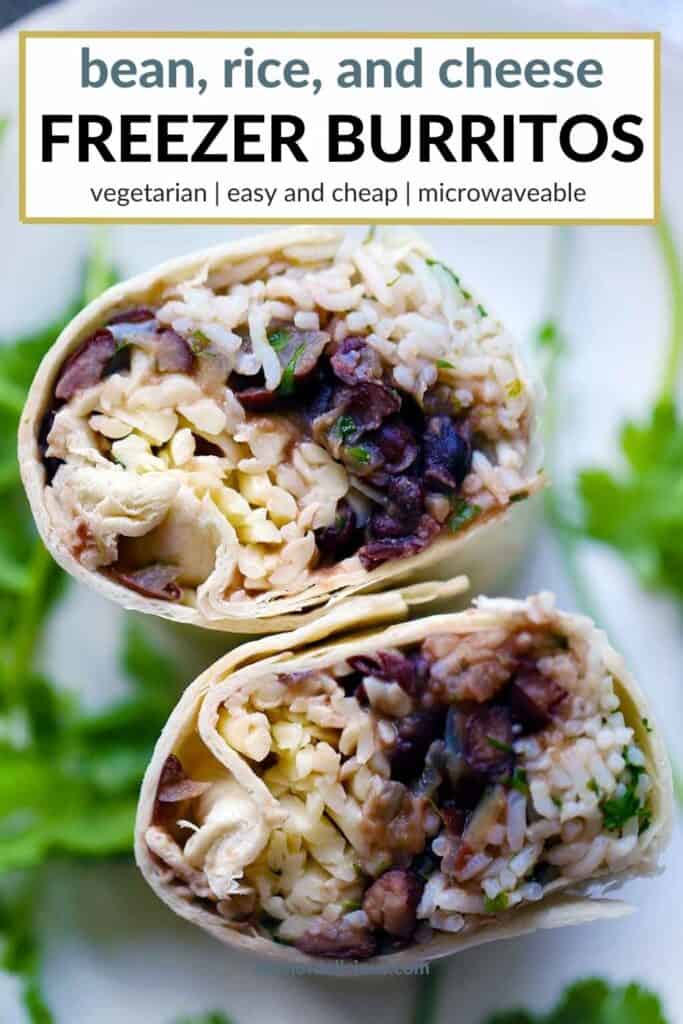
First, assemble the burritos – layer the cooked rice, black beans, and cheese on a tortilla. Wrap into a burrito by rolling them halfway, tucking the sides in, and finishing rolling. At this point, you can eat them as is, or continue to prepare them for freezing!
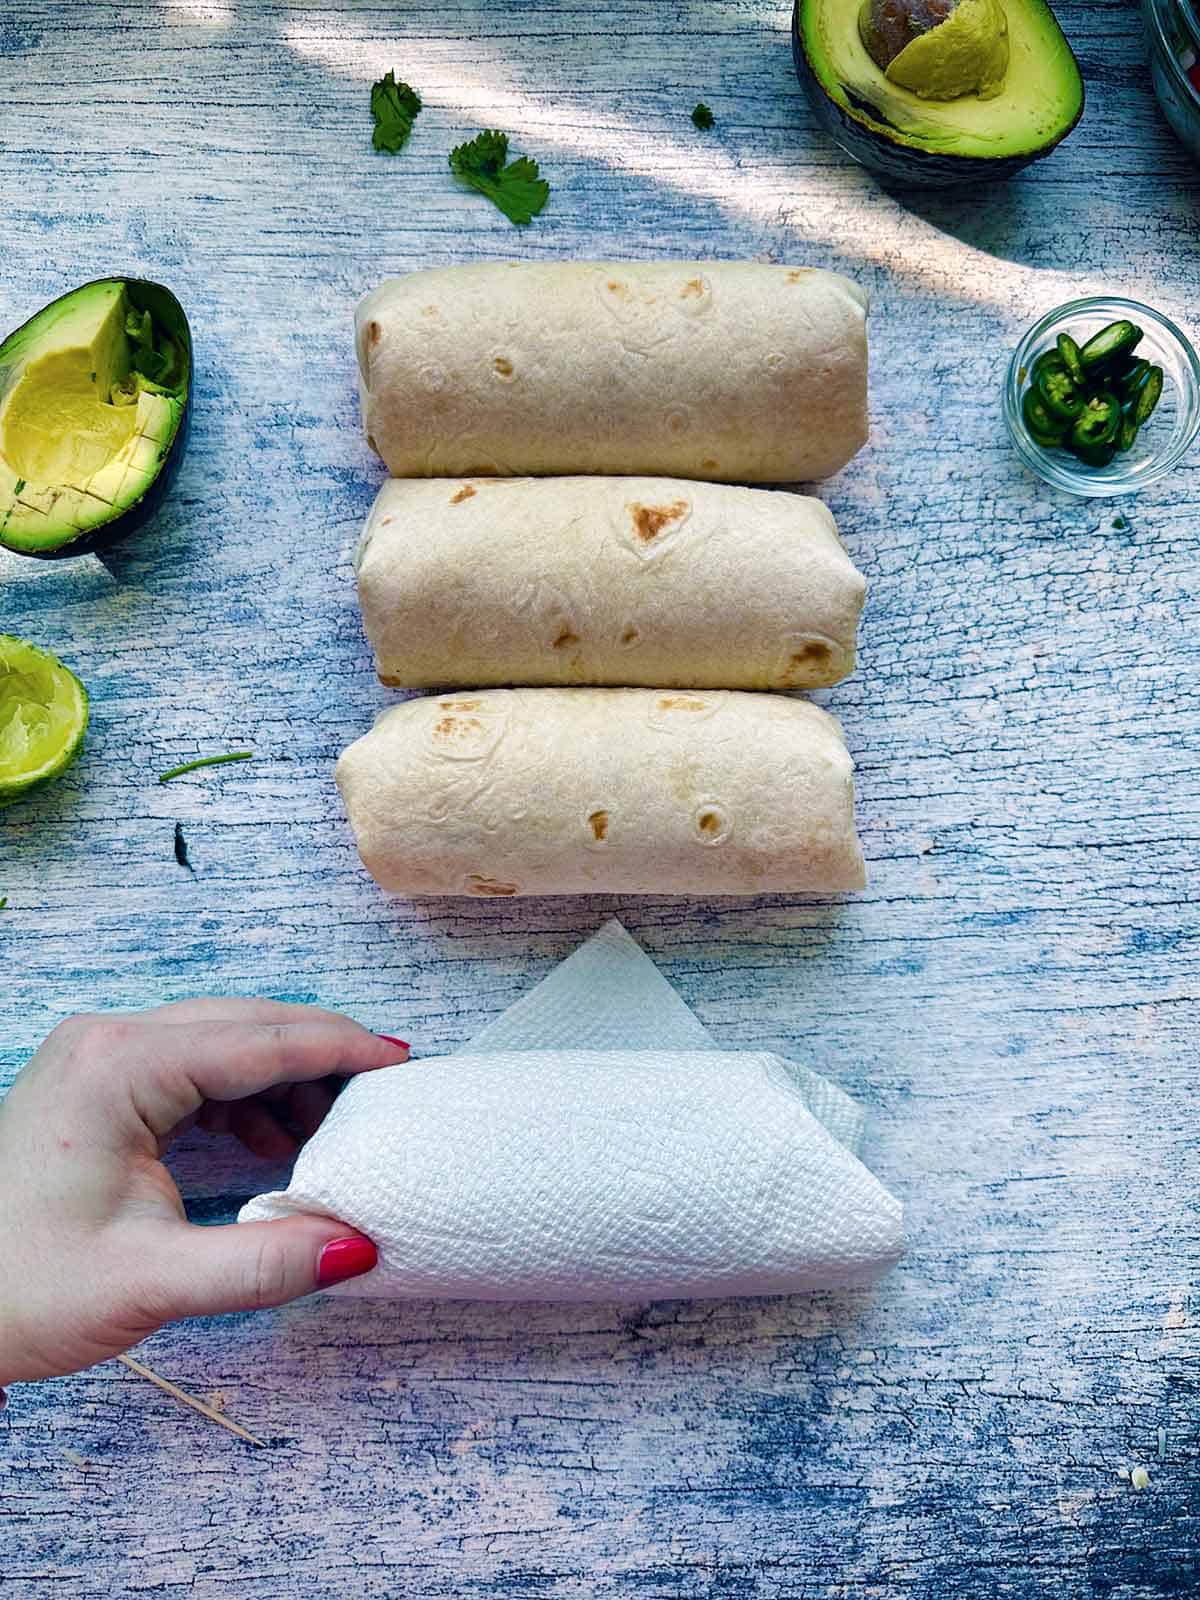
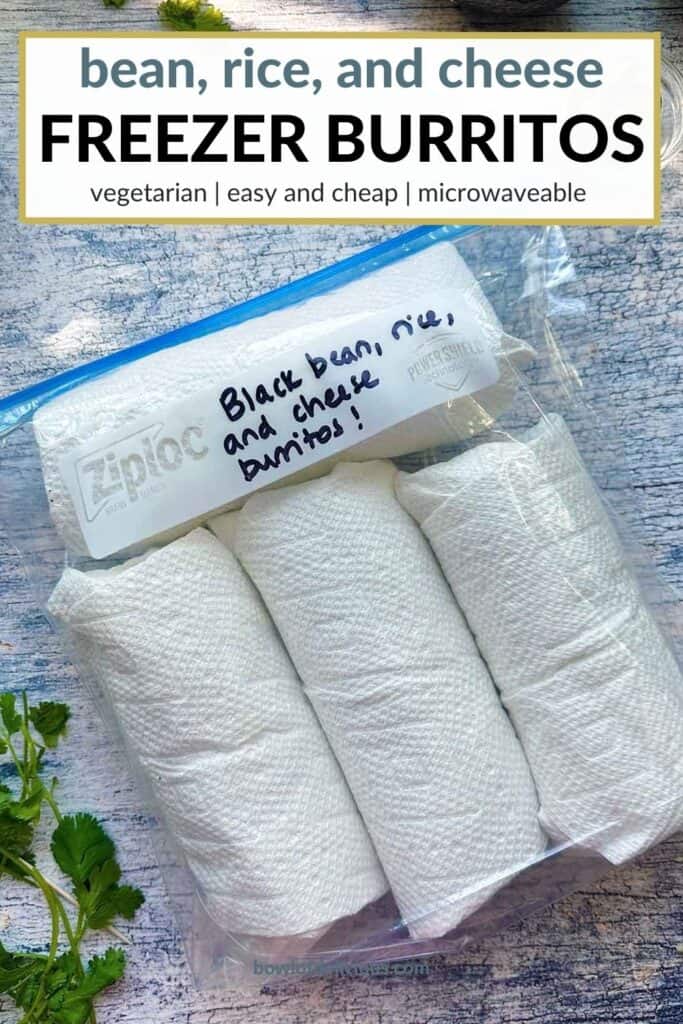
I like to wrap the burritos in a paper towel. Then, I place the paper towel wrapped burritos in a labeled zip-top bag. The paper towel makes it easier to reheat. For extra protection so they last longer in the freezer, you can wrap them in plastic wrap individually over the paper towel.
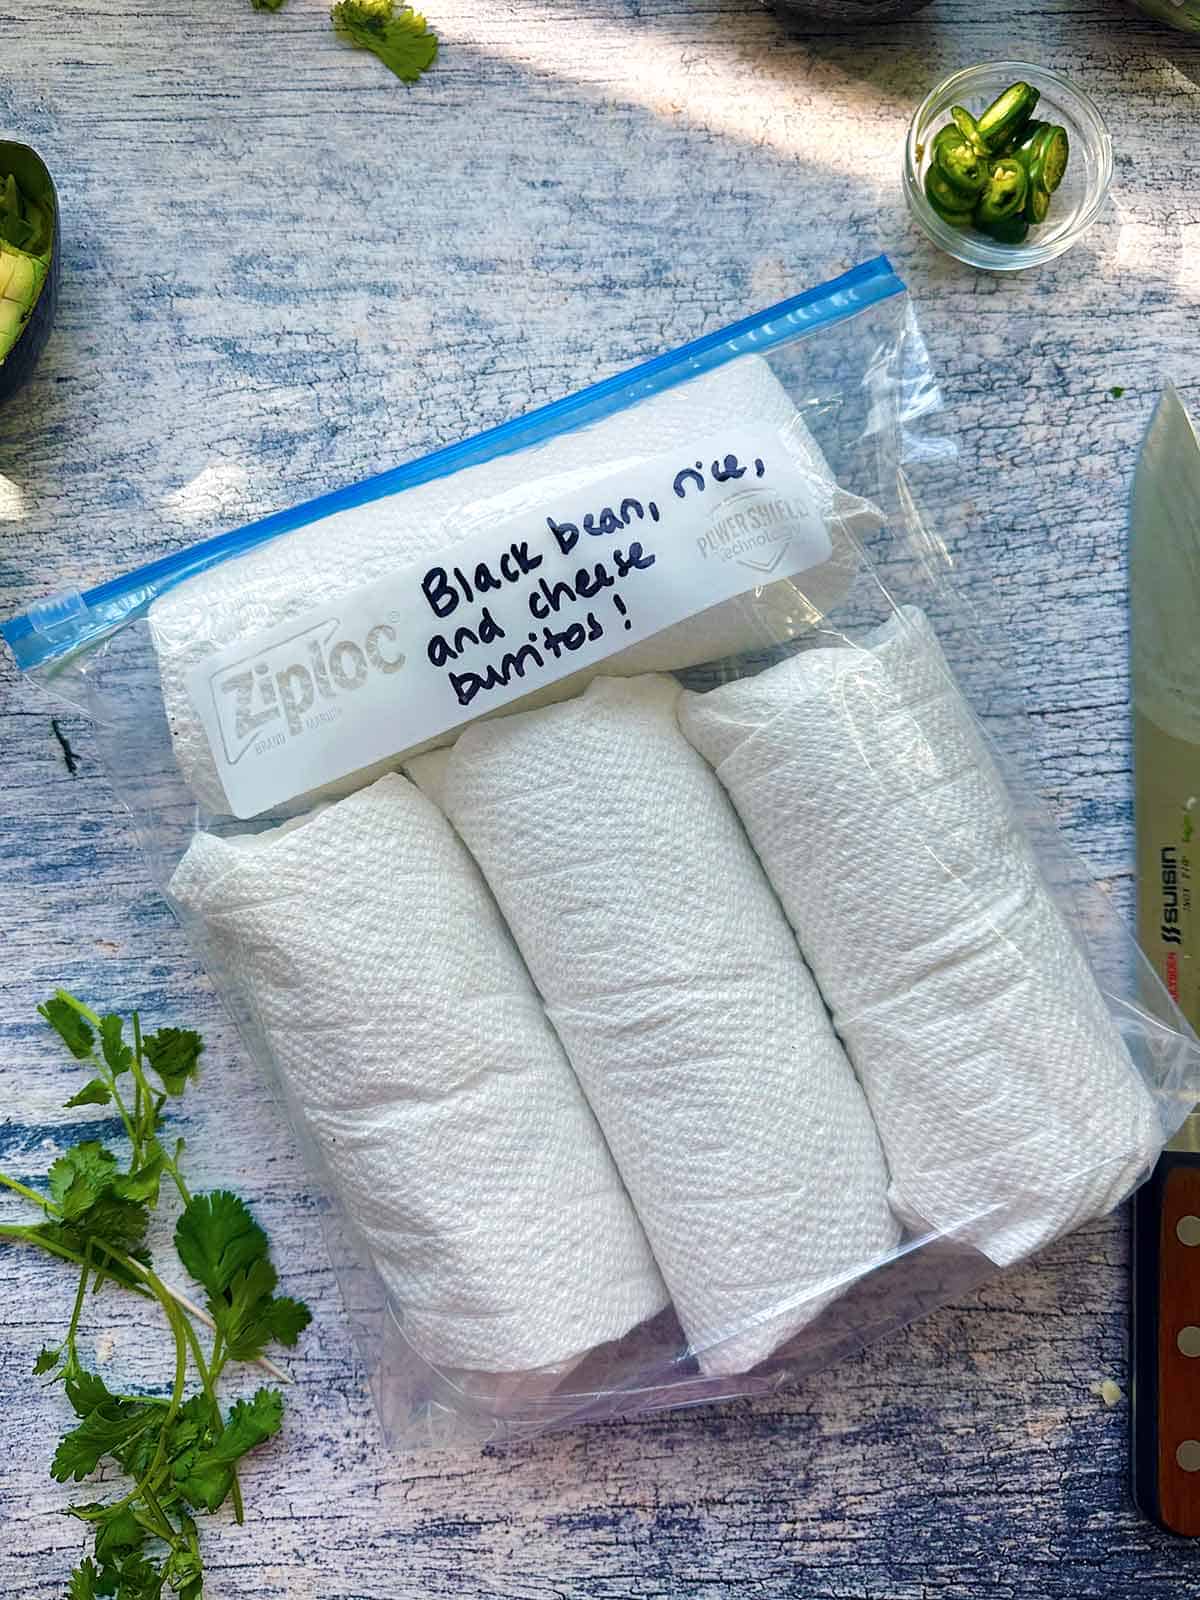
Then, place the zip-top bag with the burritos in the freezer. When you are ready to reheat them, you will place the whole thing still wrapped in the paper towel into the microwave! More on that below.
How to reheat homemade freezer burritos
Just pop the burrito, still wrapped in the paper towel, on a plate into the microwave. The paper towel will help absorb some of the moisture from the burrito and create a steamy environment to reheat it, which will help prevent the tortilla from drying out or getting too hard.
I usually microwave mine on high for 3 minutes, then unwrap and heat more in 30 second increments as necessary. You can use a meat thermometer to check inside to make sure it’s hot enough. I recommend erring on the side of less time – if you overheat them, you run the risk of the tortilla becoming tough and the paper towel sticking.
Sometimes, the tortilla will get a bit tough with reheating. Usually it’s a small enough amount that I just don’t eat that part. To prevent this from happening, you can experiment with microwaving on 50% power for a longer period of time, or you can consider making smaller burritos so it takes less time to heat up.
Let it stand for a minute or two after reheating as it will be quite hot!
Other easy freezer recipes
Did you know commenting and rating recipes is one of the best ways you can support your favorite food bloggers? If you made this recipe or have a question, please click the stars below to comment and Rate this Recipe and/or share photos on social media using the hashtag #bowlofdelicious or tagging @bowlofdelicious!
Freezer Burritos with Beans, Rice, and Cheese
Ingredients
- 8 large tortillas see notes
- 4 cups cooked rice your favorite recipe (see notes)
- 4 cups cooked black beans your favorite recipe (see notes)
- 8 oz. shredded monterey jack cheese or other melty shredded cheese
Instructions
- Layer the 4 cups cooked rice, 4 cups cooked black beans, and 8 oz. shredded monterey jack cheese evenly among the 8 large tortillas (the amount you use in each may vary based on the size of the tortillas used and how "full" you want them to be). If you like, you can add other ingredients here, like cooked veggies or shredded meat (see notes).
- Roll up like a burrito – rolling halfway, tucking the sides in, then finishing rolling.
- If you want to freeze them, wrap in a paper towel. For extra freezer protection, also wrap tightly in plastic wrap. Then, place in a zip-top bag.
- When you are ready to eat, microwave on high for 3-4 minutes, still wrapped in the paper towel. You may need more or less time depending on the size of the burrito and your microwave's power. You can use a meat thermometer to check the inside of it to make sure it's heated up all the way. Let stand for a minute or two to cool off, as it will be quite hot!
Video
Notes
- Use any tortilla you want. I prefer using burrito-sized tortillas that specify that they are “super soft” as they are easy to wrap. Feel free to use a gluten-free, whole wheat, low carb, smaller or larger size – whatever works for you! Keep in mind using a different kind may yield a different amount and may be difficult to wrap.
- If you find your tortillas are hard to wrap, consider microwaving them for a few seconds to warm them up. This should make them more malleable.
- For the black beans and rice – I use my recipe for quick and easy black beans and rice. Use any kind of cooked rice and cooked beans you prefer here.
- Keeping the burrito wrapped in a paper towel helps trap in the moisture while it’s reheating and helps prevent the tortilla from drying out. It’s not foolproof, but should minimize the amount that gets hard and tough from reheating enough that you can just choose not to eat that small part if you prefer.
- Adding other things to this burrito – sautéed peppers and onions, leftover roasted veggies, or leftover shredded meat (such as carnitas or shredded chicken from tacos) is a great way to use up leftovers and add substance and flavor to these burritos.
Nutrition
Nutrition Information Disclaimer
The provided nutrition information is my best estimate and does not include any added sodium from seasoning to taste, any optional ingredients, and it does not take brands into account. I use an automatic API to calculate this information. Feel free to calculate it yourself using one of these tools:
This post originally appeared on Bowl of Delicious on January 22, 2014. It has been republished with new photos, improved recipe instructions, and more pertinent information.



Katherine Vetne
OMG best weekday lunch ever. Especially with the Cilantro Lime rice recipe, which took two seconds to make and was so flavorful.
Elizabeth
Yessss I have this for lunch today too! Yum yum.